

To create a Google Docs cover page, there are many ways for you to choose from, like when we create a Word cover page. You can draw your own frame to create a cover page for your document in Docs or use some online frames downloaded from the internet as a cover page. Below are ways to create cover pages in Google Docs.
1. Instructions for creating a Google Docs cover page with photos
Step 1:
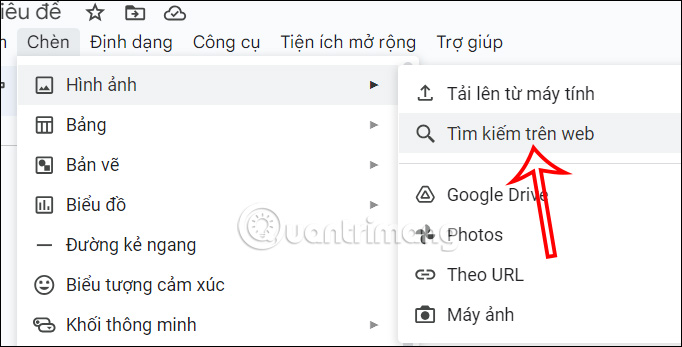
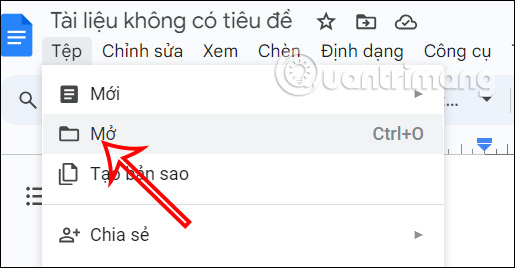
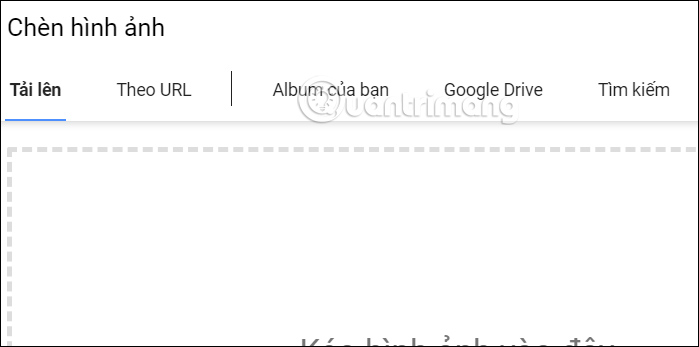
First you Need to enter content for the cover page first. At the interface in Google Docs, click on it Insert item then click next Image section. Then display more options, the user clicks Web Search section.
Step 2:
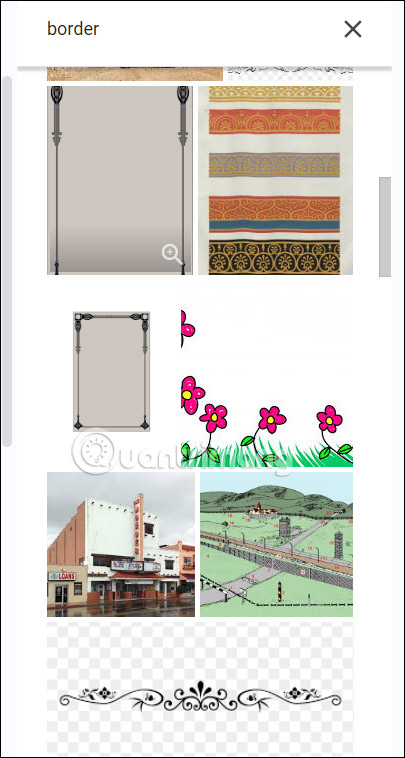
Next comes the user Enter the border keyword or corresponding synonyms in the search bar. The user will now see some cover page suggestions for you to use.
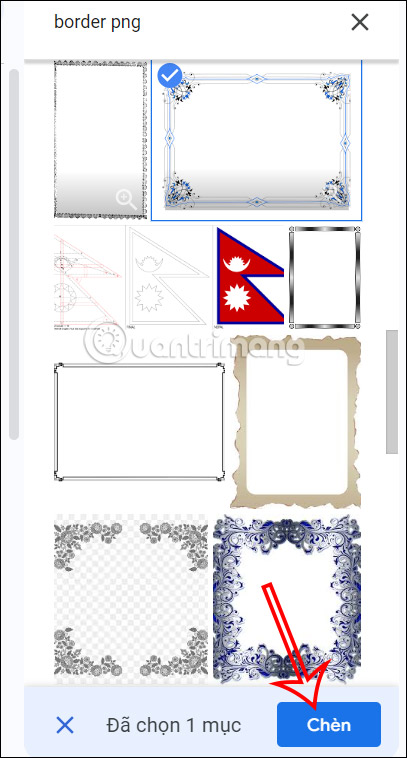
We've found the border we want to use in Google Docs Click the Insert button below.
Step 3:
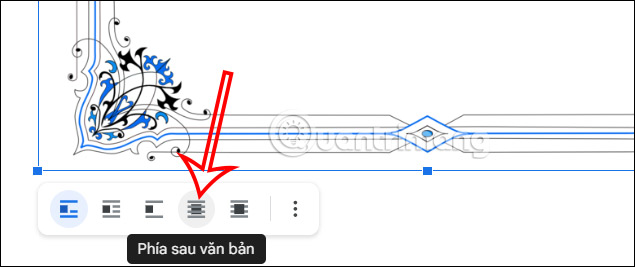
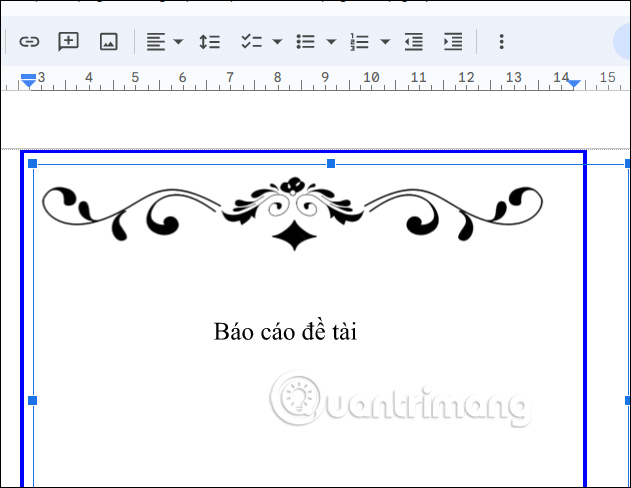
After inserting the cover frame into the Google Docs document, you Right click on the cover photo Already select Behind text as shown below. So the cover page will be behind all the text we entered.
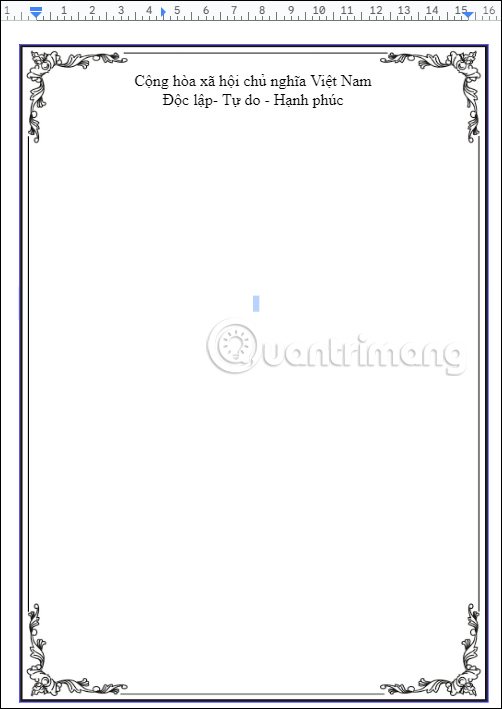
As a result, we have a cover page in Google Docs as shown below. You adjust the position of the text in the cover page accordingly.

2. How to use the cover page available from Word
We can load some cover page templates in Word, later upload to Google Drive and then upload to Google Docs to use.
Then you will immediately have the cover page frame in Google Docs as shown below. Finally, we can enter the content into the cover page in Docs.
3. Instructions for creating a cover page in Google Docs through a table
Step 1:
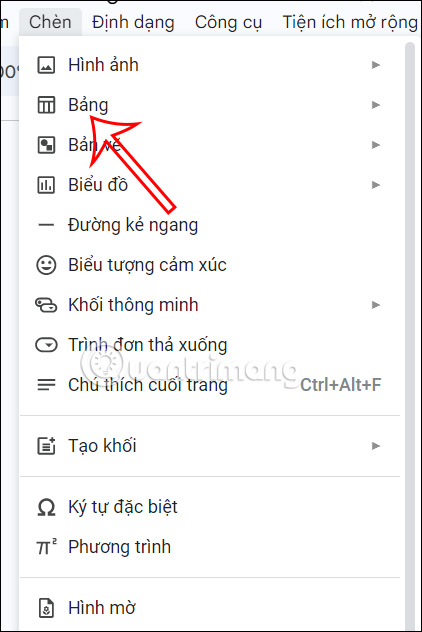
First we will have to create the cover border. You click Insert and select Table in the displayed list.
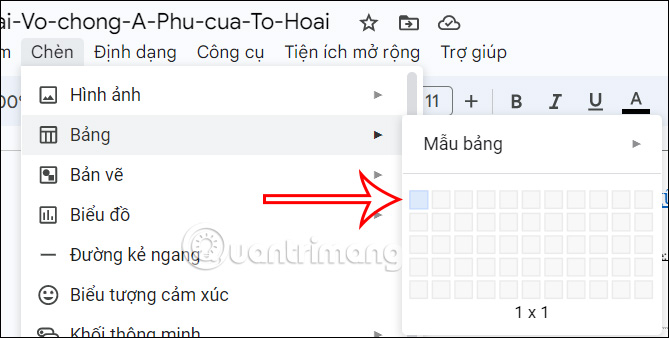
Then we choose 1 square to create the cover border.
Step 2:
Once you have the table, click Right click on the table Already select Table Properties in the list displayed as shown.
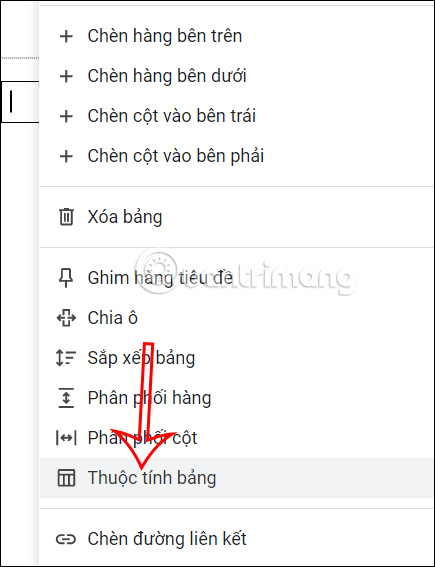
Looking at the right edge, users will adjust the color and thickness of this border. You click Color section Already Choose a thickness for the border then select color for borders.

Step 3:
Now you please Drag that panel to the full length of the pageor to any location you want. So we have created a simple cover page in Google Docs with a cover border. Now you can insert icons into this border area to create the cover page you like.
4. How to create a Google Docs cover page via Drawings
In case you want to insert a photo into the cover page and write text, you need to use the drawing tool in Google Docs.
Step 1:
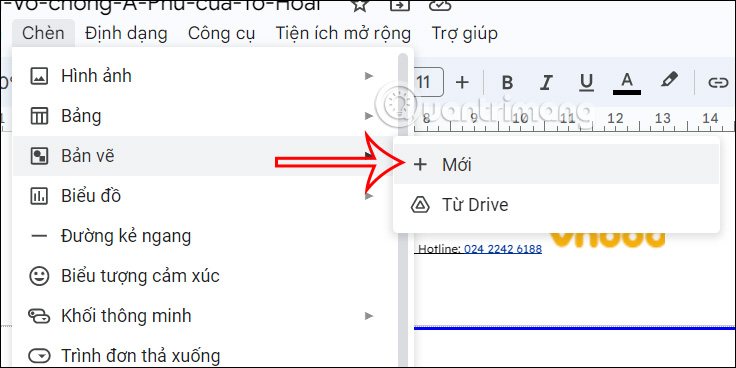
Click inside the border area. Click Insert item then select Blueprint and click on the item New to open the drawing panel interface on Docs.
Step 2:
In the drawing interface, click image icon Already insert photo want to create a cover photo. The user chooses where to store the image so we can upload the drawing. You can find border templates to make covers.
Step 3:
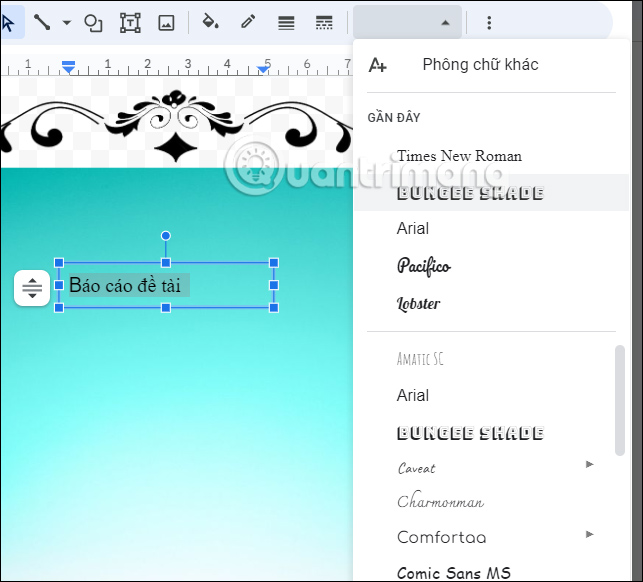
Next, the user clicks Text box icon to proceed with writing text on the image.
Or you can write text in the cover area. Then click Save and Close to insert it into the cover page.
As a result, we get the cover page in Google Docs as shown below.
In general, doing it on Google Docs requires a lot of extra steps, not as simple as when you create a cover page in Word.
