

Install Python not difficult. Below are detailed instructions How to install Python for beginners.
In the previous article we learned briefly about it Pythonadvantages and areas where this programming language can be used. To get started with Python, you first need to install Python on the computer you are using, be it Windows, macOS or Linux.
Python is a cross-platform programming language, meaning it can run on many different platforms and has even been ported to Java and .NET virtual machines. It is open source software and completely free.
Although most Linux and Mac machines today come with Python pre-installed, this version may be out of date. So you should install the latest version. Below are instructions for installing Python on your computer, specific to each operating system.
The easiest way to run Python
The easiest way to run Python is to use Thonny IDE. Thonny IDE comes with the latest version of Python packaged in it. So you don't need to install Python separately.
Follow these steps to run Python on your computer:
- Download Thonny IDE.
- Run the installation file Thonny just downloaded on your computer.
- Go to section File > Newthen save the file with the extension .py. For example:
hello.py,quantrimang.py… - You can give the file any name as long as it ends with .py.
- Write the Python code to the file and save it
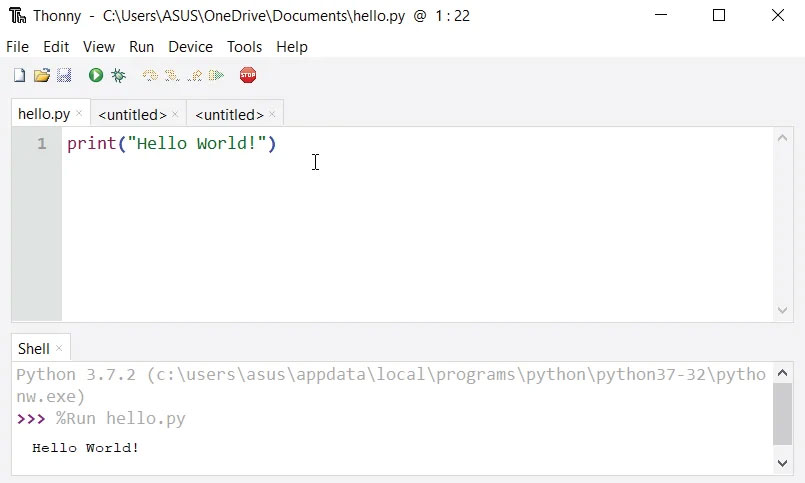
- Then go to section Run > Run current script or more simply press F5 to run that file.
Install and run Python separately on Windows
Step 1: Download Python here: https://www.python.org/downloads/, choose the version you need, the latest version when I write this article is Python 3.10.6.
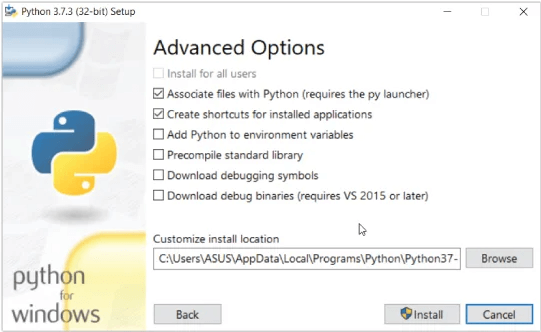
Step 2: Run the installer file and follow the steps to install Python
During installation, select Add Python to environment variables. This will add Python to your environment variables and you can run Python from any part of your computer.
Additionally, you can choose the path where Python will be installed.
After completing the installation process, you can run Python.
1. Run Python in Immediate mode
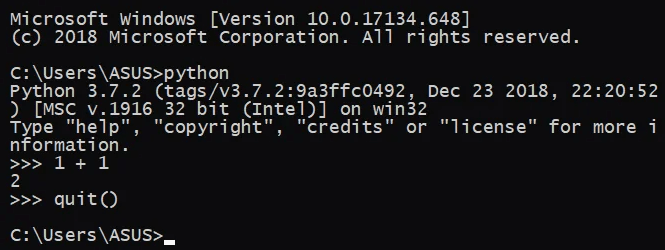
Once Python is installed, we can directly enter the Python code into the command line window and press Enter to get the output immediately. Enter the following command into the command window:
pythonAfter receiving notification about the installed Python version, you can use it as a calculator. Try entering:
1 + 1Then press Enter to receive the results. Press Enter if you want to completely exit Python's command waiting mode.
2. Run Python in the IDE Environment
You can use any text editor to write your Python script, as long as you save it with the extension .py. However, using an IDE will make writing code much simpler with useful features such as suggestions, highlighting, syntax checking or file manager… for programmers.
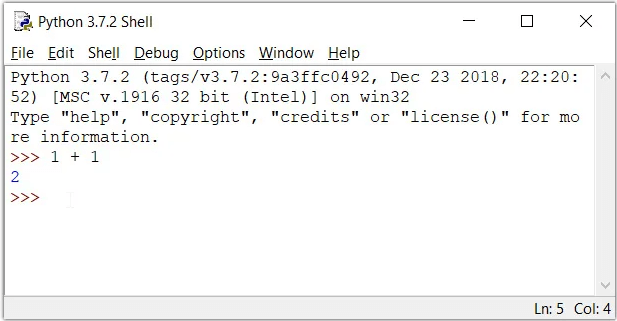
Along with installing Python, an IDE called IDLE is also installed and you can use it to run Python on your computer.
When you open IDLE, a Python Shell interface will be opened.
To create a new file in IDLE, click File > New Windows or press the shortcut key combination Ctrl+N.
Copy the following Python code to try in the newly created file
print("Xin chào!")Go to the file you just created, then click Ctrl+S to save. The file will have the extension .pygive it a name, for example: quantrimang-python.py.
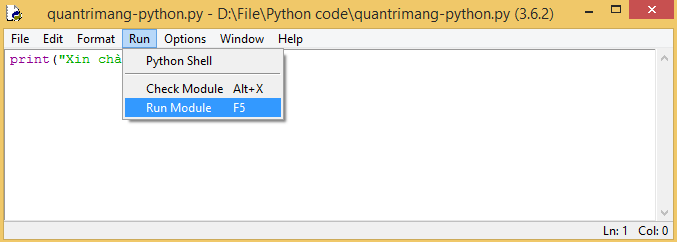
Press Run > Run modules or F5 to see results.
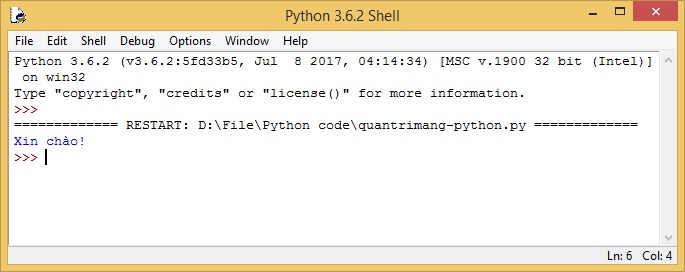
That's very simple and easy, isn't it? You have now finished running your first Python program.
Install and run Python on Ubuntu
Install the following dendencies:
$ sudo apt-get install build-essential checkinstall
$ sudo apt-get install libreadline-gplv2-dev libncursesw5-dev libssl-dev libsqlite3-dev tk-dev libgdbm-dev libc6-dev libbz2-dev
Download Python here: https://www.python.org/downloads/source/
In the terminal, go to the folder containing the downloaded file and run the following command to extract the file. The file name will be different depending on the version you download.
$ tar -xvf Python-3.6.2.tgzGo to the extracted folder, enter the command:
$ cd Python-3.6.0Execute the following commands to compile Python source code on Ubuntu.
$ ./configure
$ make
$ make install
If you are a new user, you should install Sublime Text on your computer to write Python code on Linux. Enter the following command to install:
$ sudo add-apt-repository -y ppa:webupd8team/sublime-text-2
$ sudo apt-get update
$ sudo apt-get install sublime-text
Open Sublime Text, enter File > New File or press Ctrl + N to create a new file.
Save the file with an optional name, for example quantrimang-python.py
Write the code and save it:
print("Xin chào!")Go to Tools > Build (Ctrl+B) you will see the result of the above command line at the bottom of the Sublime Text window.
And so, you've just finished running your first Python program on Ubuntu.
Install and run Python on macOS
Install Python using the official installer
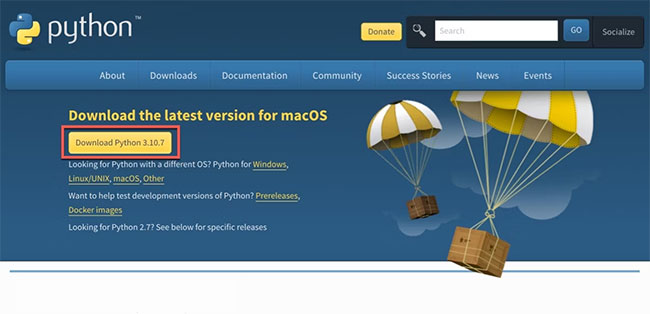
The easiest way to download the latest version of Python is through the official website. Here's what you need to do to get started:
1. Download the installer package from the official Python website (link at the beginning of the article).
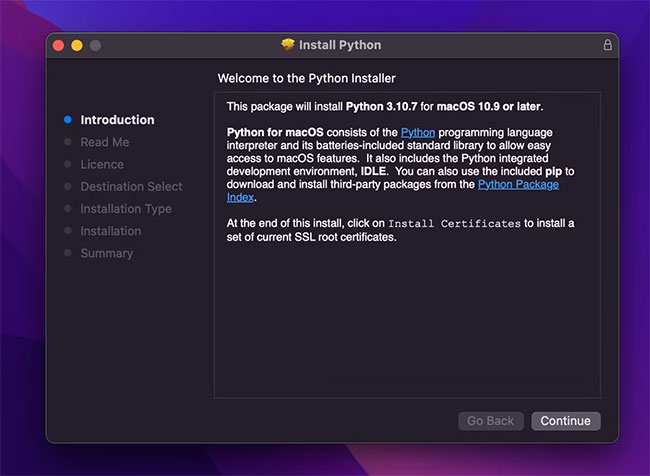
2. Wait for the download to complete. Once completed, double-click the package to begin the installation process. You can follow the on-screen instructions in the Python installer for this step.
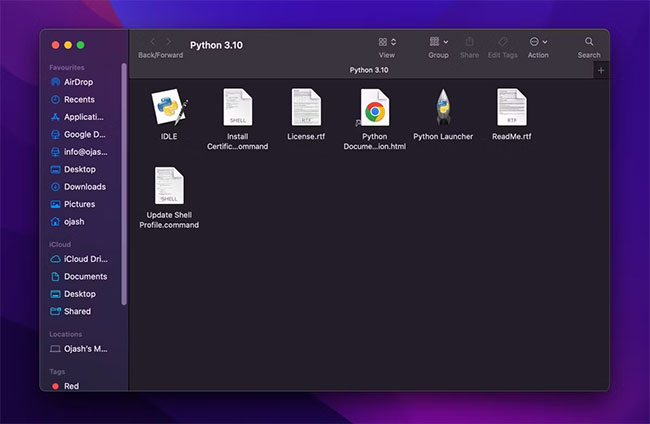
3. Once installed, the installer will automatically open Python's installation folder in a new Finder window.
Confirm Python installation
You need to confirm that you have correctly installed Python and IDLE, the integrated development environment that comes with Python – just one of many important tools for Python developers.
1. In the Python installation directory, you will find a file named IDLE. Double-click it to launch it, and if the installation is successful, IDLE will open a Python shell.
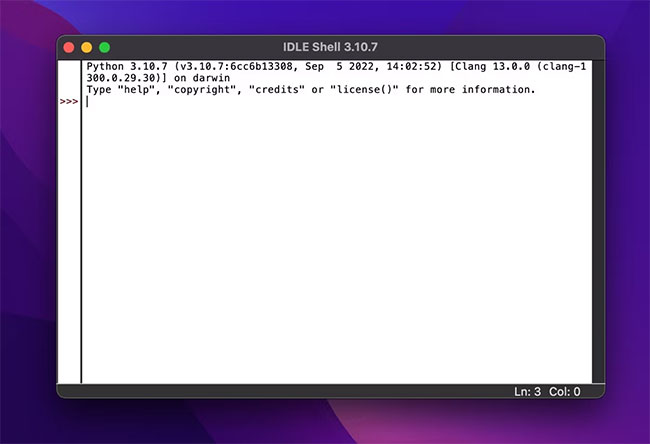
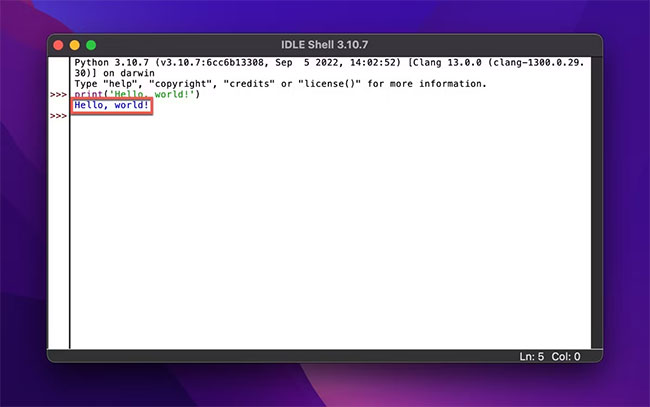
2. To make sure everything works smoothly, enter a simple Python print command and run it in IDLE.
print('Hello, world!')3. Press the key Return (or Enter) and you should see your message printed on the interface if everything is working properly.
How to install a source code editor for Python on Mac
You can start coding in Python using the command line or it's much easier to use a code editor. With this editor, you can use syntax highlighting, code compaction, and smart code completion features.
You have several code editing tools for MacOS. The best is Microsoft's Visual Studio Code (VS Code). It's completely free for Mac.
How to install VS Code on Mac
- Download VS Code on Microsoft's official download page.
- Click Download Mac Universal.
- When the download process is complete, VS Code will automatically extract from the zip file. If not, double click on the zip file.
- Drag VS Code into the applications folder.
How to set up VS Code to code in Python
Before you can use VS Code to write Python, you need to create a script and install the Python extension. Here's how:
- Open VS Code from the applications folder.
- Select New file in the Get Started window.
- Enter the name of the file in the text box at the top of the window and select the format as .py.
- Click New file in the text box, then choose a location to save it. Then, click Create File.
Now you can click the default Python extension Install at the bottom of the window. VS Code will install the Python extension and then start writing Python scripts.
Run your first Python script on Mac
After successfully installing Python on Mac and setting up a code editor. Now it's time to run your first Python script on the platform. To do that, follow these instructions:
Go back to the Python file you just created and enter any basic Python commands. For example:
print('Hello, world!')You can compile and run code by clicking the Play button in the top right corner of Visual Studio Code.
If the code is written correctly, you will get the results displayed in the integrated Terminal. That means you have successfully run your first Python script.
Uninstall Python on Mac
If you've changed your mind about using Python on Mac and plan to switch to another programming language, you can follow the steps below to remove Python from macOS.
Uninstall Python from the Applications folder
- Next Finder > click folder Application.
- Move all installed Python folders to Trash. To remove a version, make sure you only move that version's files in Trash.
- A dialog box may appear, asking you for permission to proceed with deletion. Enter your Mac's password to authorize Terminal remove these files.
Uninstall the Python framework from the /Library directory
If you want to completely uninstall Python from your system, you also need to remove its framework from the directory /Library. The Python framework contains the Python compiler, standard library, and site packaging directory.
Removing the Python framework will remove all these files from the system. Therefore, if you do not remove them, Python will still be installed on your Mac but cannot be used.
1. Press the key Cmd + Spacebar to open Spotlight Search. Here, find Terminal and open it.
2. Enter the following command in Terminal and press the Return or Enter key.
sudo rm -rf /Library/Frameworks/Python.framework3. Enter your Mac's password to grant permission to delete the file.
4. This action will remove the framework for all versions of Python installed on Mac. However, if you only want to remove the framework of a specific version (e.g. 3.8), you can use the following command:
sudo rm -rf /Library/Frameworks/Python.framework/Versions/3.85. The above action will remove the framework of the selected version of Python from Mac.
While there are many ways to install Python on macOS, the safest way is to use the official installer. However, you can also use a package manager for macOS like Homebrew – an application that helps you easily install and manage software, dependencies, and other scripts on your computer. The biggest advantage is that you can not only use Homebrew to install any version of Python but many other applications as well.
Macs still have Python pre-installed?
For many years, Macs still shipped with Python 2.7 pre-installed. However, this is no longer the case. Although you can still download and install Python on your Mac, like any other software, Apple no longer includes it by default because Python 2.7 is no longer maintained.
Apple made the announcement to remove this version from the operating system in the release notes of macOS Catalina in 2019 before discontinuing macOS Monterey.
So, if your Mac version is between 10.8 and 12.3, there's a good chance you still have Python 2.7 pre-installed on your Mac. The best way to test this is to try running Python from the Terminal app in macOS.
How to check the pre-installed version of Python on Mac
If you're running an older version of macOS, you can check the version of Python available on Mac as follows:
1. Open the Terminal app on Mac.
2. Enter the following command to check the version of Python 2.7 and press the Return button:
Python --version
If Python is already installed, you will receive a response providing details about this version.
If your Mac has multiple versions of Python, you can enter the command to determine the Python version: python –version. For Python 3, you can use the following command: python3 --version
