

When you often have to handle dispatches, draft contracts, or documents, creating dotted lines is no longer strange. To create these dotted lines we use Tab tool in Word.
This Tab tool has many different useful uses, such as using line and paragraph alignment to create a more convenient, more accurate text layout and creating dotted lines in the text. Placing Tabs in text and formatting Tabs in text will create lines of dots or consecutive lines of lines aligned according to the rules you set. Instead of having to type dots manually, users just need to press the Tab button and 3 dots will appear, very convenient when presenting text. The article below will summarize the types of Tabs in Word and how to create dotted lines in Word.
1. Types of Tabs in Word
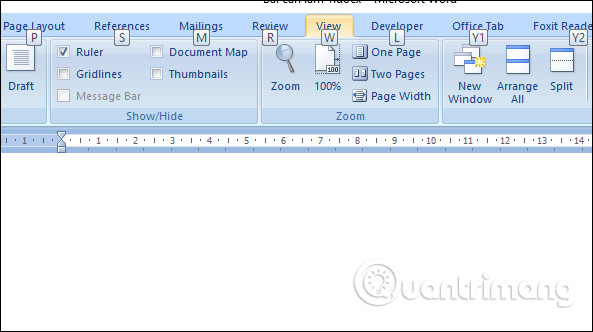
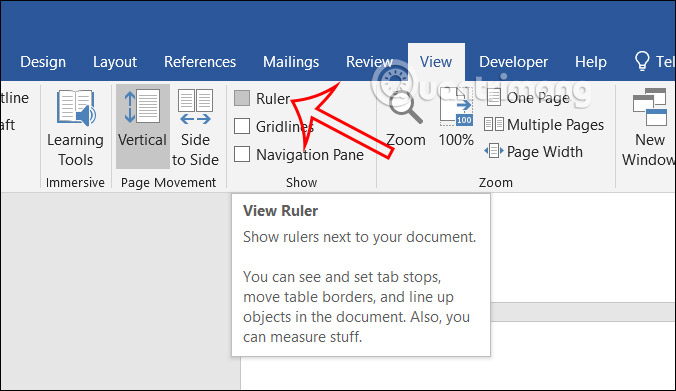
First of all, we need to turn on the ruler bar on Word to align Tabs in Word. Click on the View tab and then select Ruler.
There are 7 different types of Tabs in Word:
2. Create dots (….) quickly with keyboard shortcuts
Open Microsoft Word Up, for old versions of Word (before 2010), the Tabs key panel will appear when you enter the Format > Tabs. As for Word 2010 and above, we just need to right-click on the Word document and select Paragraph > Tabs:
Create dotted lines in Word 2007, 2003 old versions:

Create dotted lines in Word 2010, Word 2013, Word 2016:
There are 2 ways to access Tabs on Word 2010, 2013, 2016:
- Method 1: Go to tab Home > find box Paragraphclick the arrow in the lower right corner.
- Method 2: Right-click on the page Word > Paragraph…

- Click Tabs in the lower left corner to open the Tabs panel:

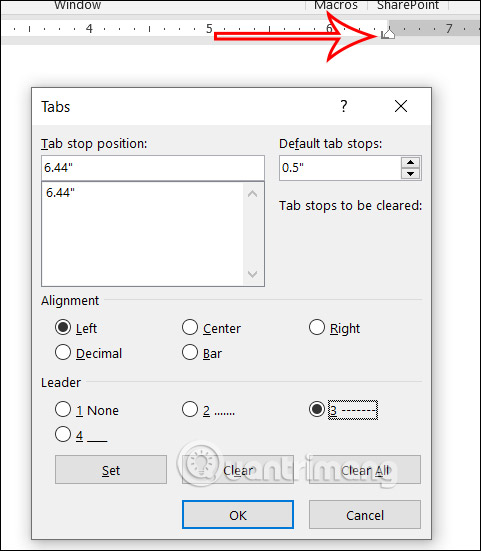
In the Tabs panel, we will see options as follows:
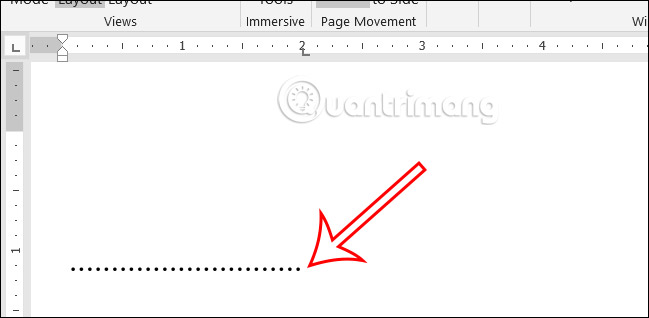
- Tab stop position: the length in the text that will appear as a dot when we press Tab (calculated from the left margin of the text, as shown in the example below, is 1 cm)
- Default tab stops: distance from the first point to the end when we press the Tab key (as in the example below, it is 6 cm).

- Alignment: alignment type, selectable Left – left, Center – between, Right – Right…
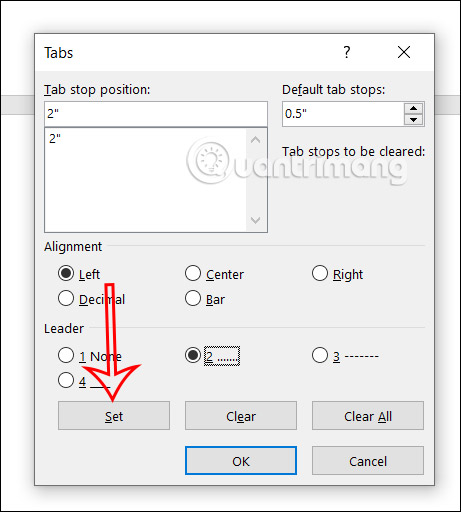
- Leader: formatting style when pressing Tab:
- 1. None – nothing
- 2. is a dot (…….)
- 3. is a hyphen
- 4 is a solid underscore
Select the desired values and then press the button Set to change. Like the example above, I will be specific with the image below for you to easily visualize:

3. How to create dots (….) in Word using the Ruler bar
The Ruler bar in Word also has options so you can quickly create dots (….) or any line style you want with a very simple and similar method on most versions of Word.
Step 1:
First you need to display the ruler bar in Word if it isn't already visible. We Click on View and then check the Ruler box to display the ruler bar in Word.
Step 2:
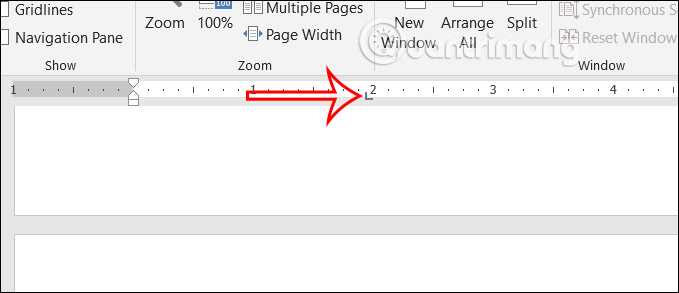
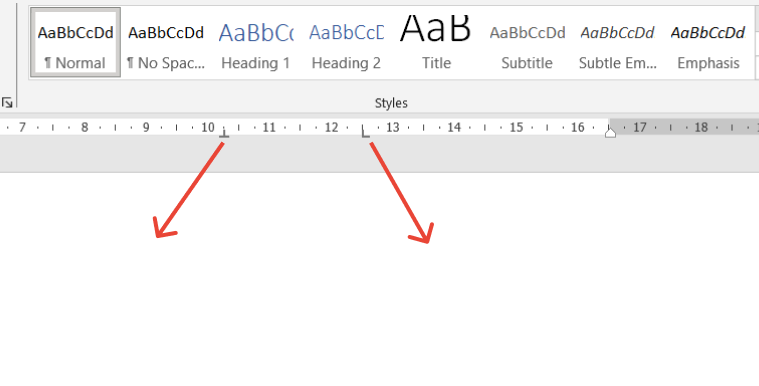
Next you need to determine where to create the dot (….) in Word, by aligning the left margin and the length to Left click on the Ruler bar to create tabs in Word.
If you want to create a line of dots (….) to the bottom of the page, left click on the end of the ruler bar to create a tab at the bottom of the page.
Step 3:
Next you Double click on the tab icon at this ruler bar. Displays a table to adjust tab style in Word.
Now you Check box number 2 to create a dot (….) in Word. Afterward Press Set to set it up Click OK to save.
Step 4:
Afterward press the Tab keyimmediately the line of dots (….) is displayed with a length corresponding to the tab position displayed on the Ruler bar as shown.
In case you I want to change the dotted line style it's also simple. Click on the tab position on the ruler bar to calculate the length of the dotted line and then double-click.
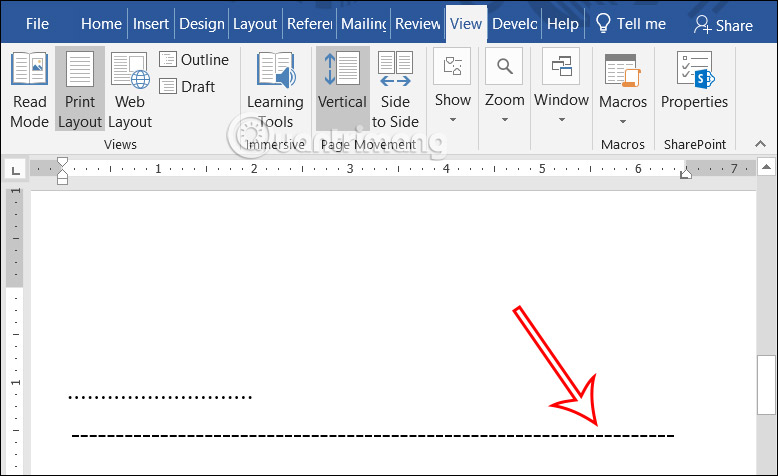
Then we will Select the pattern for the new dotted linefor example type number 3 and also press Set and OK to save.
As a result, we will see a dashed line showing up to the tab location as shown.
By creating a line of dots (….) through the ruler bar, you will immediately know how long the line of dots (….) is because you have already set the tab position on the ruler bar.
4. Cancel the setting when pressing the Tab key
If you don't want to use the tab-click settings, open the Tabs control panel and click the button Clear or Clear All. Then press OK.
![]()
Or is there a faster way to remove Tabs while the Ruler bar is open?: Drag the unused Tabs icon from the Ruler bar to the Word desktop. That is equivalent to removing specific Tabs on the currently selected line.
So above are enough of some common ways to Create and delete dotted Tabs in Word. If you have a better way, please share with other users in the comments below!
