

It was frustrating when the Internet stopped working. Many people have this problem due to the network adapter (Network Adapter) disappearing from Device Manager or received a missing network adapter.
There are many reasons for this problem, such as the recent installation software, the malware enters the computer, etc.
This article will guide you how to fix the problem of the lost network adapter on Windows 10.
Guide to fix the error of losing network adapter
1. Restart the computer
If there is a miraculous remedy in the technology world, it is to restart the device. Restarting the computer can overcome many common problems. Try restarting the Windows 10 device to check whether the adapter has returned.
2. Let the laptop in sleep mode
Some users report that laptops in sleeping mode by closing the lid for a while can also solve the problem of not seeing the network adapter.

3. Remove the power cable
Another solution is not to use the power source at a time. To perform, turn off the computer and remove the power cable, wait at least 10 seconds, then plug the power cable and turn on the device.
4. Remove the battery
Removing the battery can tie the motherboard of the laptop to perform its settings, thus solving all problems. If the computer supports a removable battery, turn it off, then remove the battery cover and remove the battery for a few seconds. Install it again and turn on the laptop power. Hopefully the network adapter will return.
5. Fix network problems
Windows 10 provides troubleshooting can solve many problems. Take the steps below to solve the problem of network adapter.
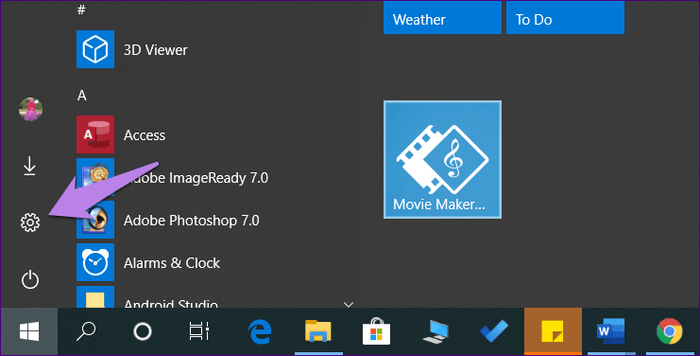
Step 1. Open Settings from Start menu or press Win+I.
Step 2. Click Update & Security.

Step 3. Select Troubleshoot From the left bar. Roll down and click Network Adapter> Run The Troubleshooter to the right. Follow the instructions on the screen to start the troubleshooting process.
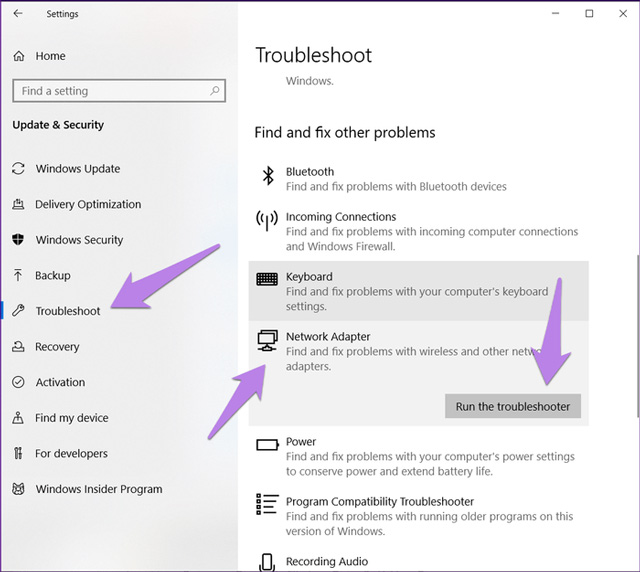
Tip: Knock troubleshoot In search of Windows to directly open the Troubleshoot screen.
6. Update network driver
If the network adapter is displayed in Device Manager, you can try to upgrade it. Sometimes this is an error due to an error in the driver version installed on the system. Therefore, updates can overcome the problem of losing network adapters.
To upgrade and follow these steps:
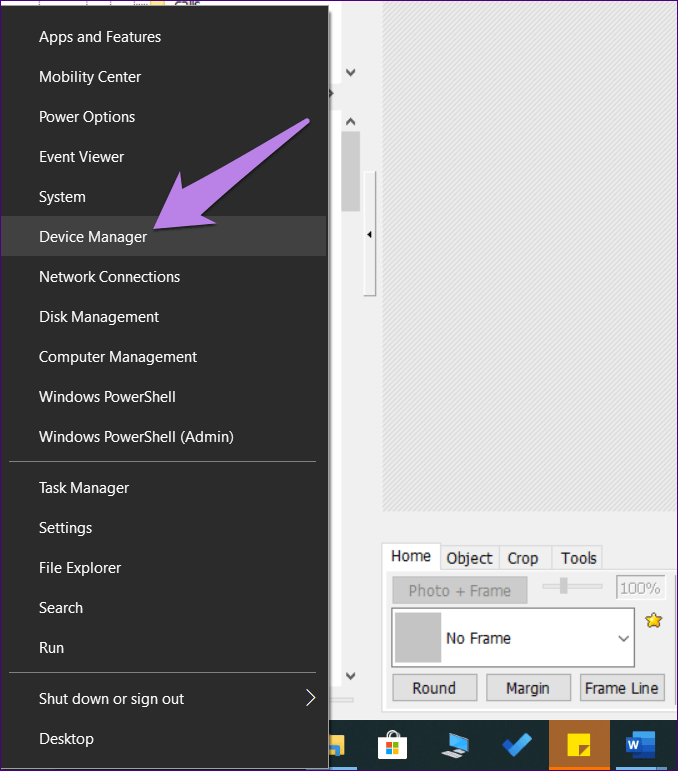
Step 1. Right -click on the Start menu icon and select Device Manager. Also, you can press Win+Rtype DEVMGMT.MSC and press Enter.
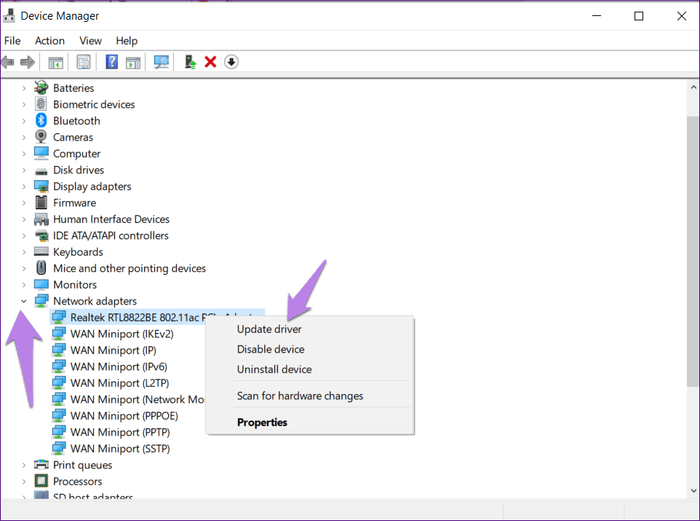
Step 2. Click on the arrow down on the edge Network Adapters. Right -click on your network adapter. It is often Realtek/Broadcom or words wireless beside. Select Update driver. Complete the process and restart the computer.
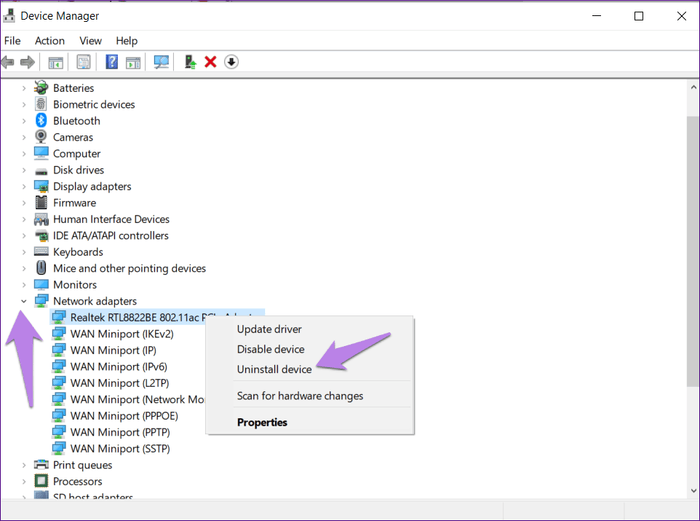
7. Uninstall or return to the previous version of the Driver Driver
If the driver is updated, the problem does not solve the problem, return to the previous version or uninstall it. If uninstalled, the system will install the driver automatically after restarting.
To uninstall, follow the driver update steps. However, after right click on the driver, select Uninstall Device.
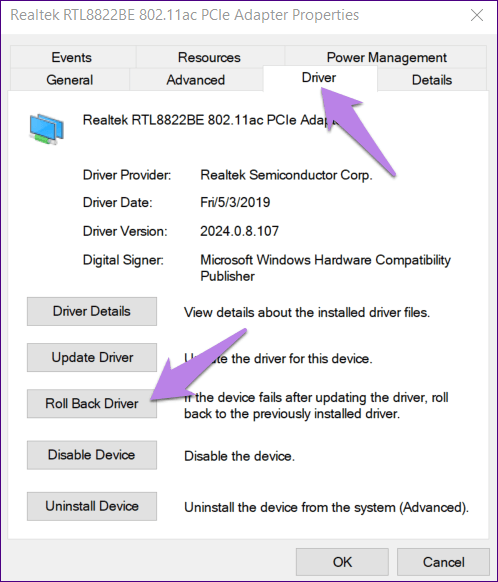
To return to the previous driver version, click on Properties After right click on the driver. In Propertiesaccess to the tab Driver and click Roll Back Driverthen restart the system.
8. Turn on the driver
Sometimes the driver is disabled and that is why you can't connect to the Internet. To fix this problem, just turn on the driver.
Open Device Managerthen right -click on the network driver in the Network Adapters and choose Enable Driver.
9. Install the driver
In case you do not see the driver in the network adapter, you need to find it in Other Devices or Unknown Devices. It will have a yellow icon next to it. Right -click the driver and select Update driverthen restart the device.
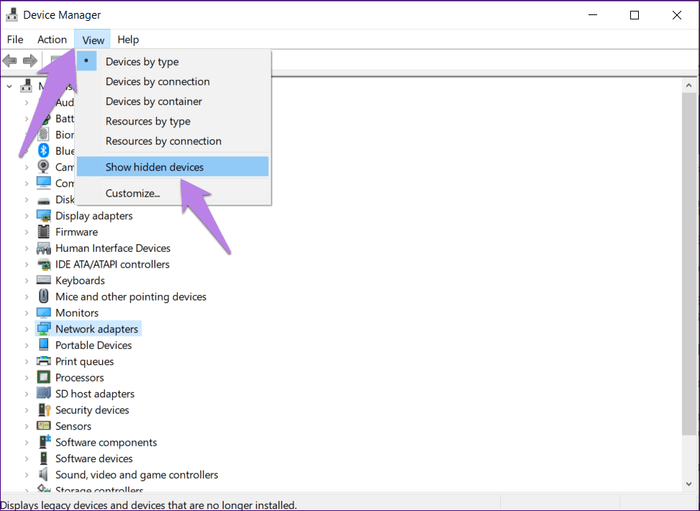
10. Display the hidden driver in Device Manager
If the network adapter does not appear after trying the above methods, it may be hidden.
To make it display, follow the steps below.
Step 1. Open Device Manager by right -clicking the Start Menu icon.
Step 2. In Device Manager, click on the option View In the toolbar on the head and choose Show Hidden Devices.
Step 3. Click on the option Action and choose Scan for hardware changes.
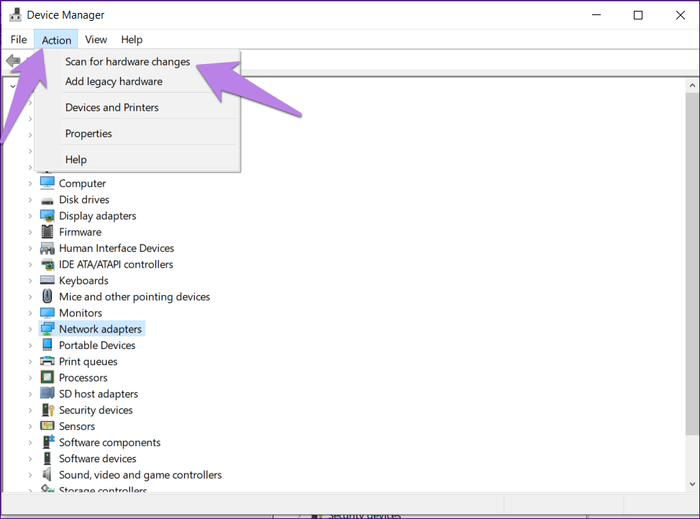
Step 4. If the adapter appears on the list in Unknown Devices, please update it.
11. Check the physical network button
Make sure to turn off the aircraft mode on the system. In addition, you should also check the physical button for wifi, used to turn on wifi.
12. Disable VPN and antivirus software
If using VPN on your computer, try turning off or uninstall it for a period of time, then restart the computer.
Similarly, disabling antivirus software or checking if there is an update. Then restart the computer if required.
13. Reset network settings
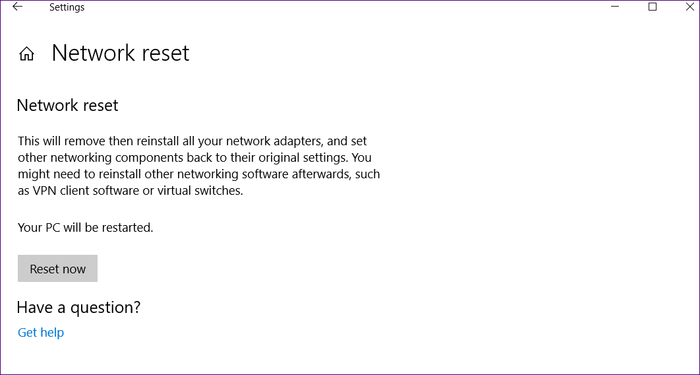
Finally, if the above methods do not work, reset the network installation. This operation is all network settings on the default value.
To reset the network, follow these steps:
Step 1. Open Settings on the computer.
Tip: Using shortcuts Win+I To open Settings.
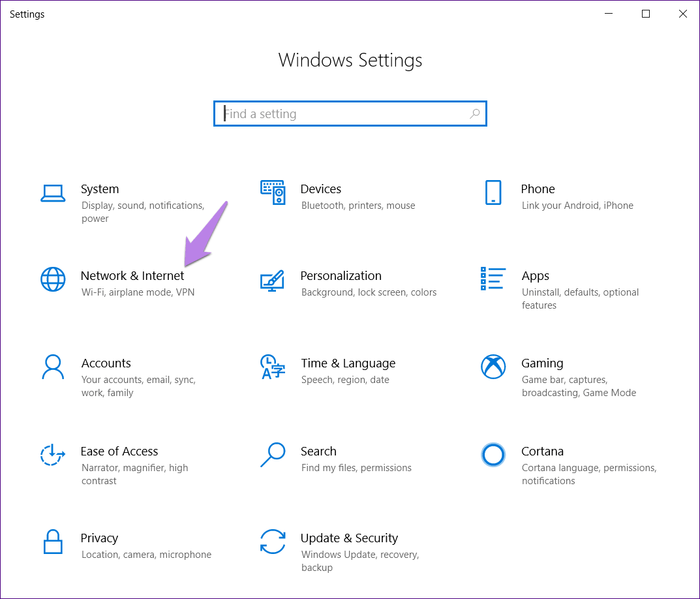
Step 2. Click Network and Internet.
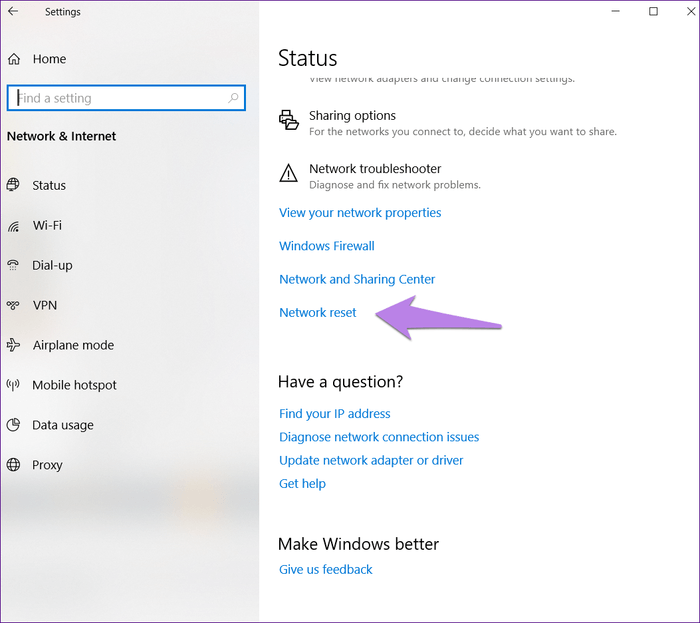
Step 3. Roll down on the screen Status and click Network Reset.
Step 4. Confirm the decision by clicking Reset Now.
14. Check Power Management settings
If you are using a laptop, Windows 10 will turn off some features when the battery is low or when turning on the battery saving mode. Follow these steps to check the settings Power Management:
Step 1: Right -click on Start> Device Manager.
Step 2: Expand the list Network Adapters.
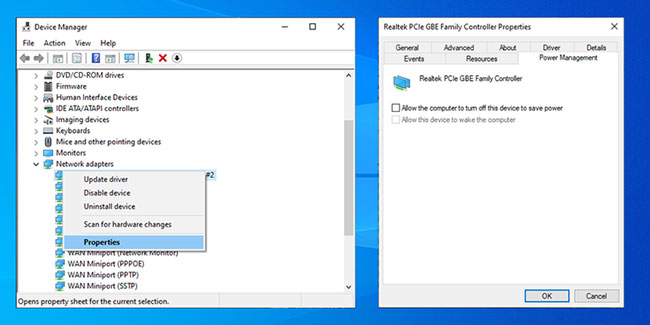
Step 3: Right -click on your network adapter and choose Properties.
Step 4: Open tab Power Management.
Step 5: Reducing Allow the computer to turn off this device to save power.
Step 6: Click Apply> ok To save the changes.
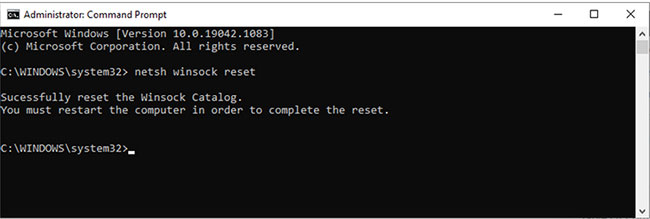
15. Reset WinSock settings
Winsock is a programming interface and program that supports how Windows network software uses its network service. If the problem occurs with WinSocks files, it can lead to the network adapter disappearing from Windows 10. Here's how to reset the WinSock data:
Step 1: In the search bar of the menu Startsearch Command Prompt and choose Run as administrator To open CMD with admin rights.
Step 2: In the Command Prompt window, enter the next command, then press Enter:
netsh winsock resetStep 3: Reboot PC or Laptop to save changes.
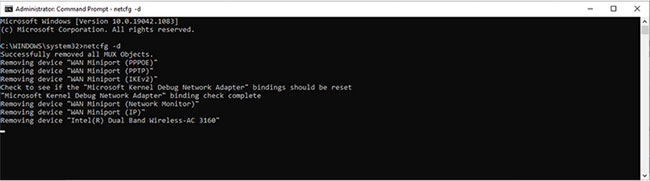
16. Cleaning network devices
If the previous method does not work, you can follow these steps to clean up network devices with Command Prompt:
Step 1: Press Win + R to open the window Run.
Step 2: In the window Trembleenter CMD and press Ctrl + Shift + Enter To run Command Prompt with admin rights.
Step 3: In Command Prompt, enter:
netcfg -dStep 4: Restart the device and check if you see the network adapter.
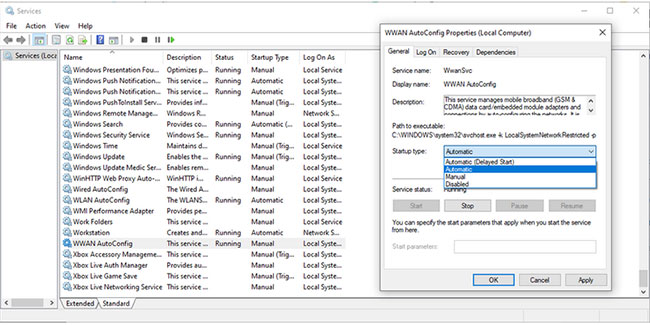
17. Check the service in the background of Windows 10
Network driver may be missing due to a service running in the background of normal operation. Follow the following steps to manually manage it:
Step 1: In the search bar of the menu Startsearch Services and choose the most suitable result.
Step 2: In the menu Servicespositioning and opening Wwan Autoconfig.
Step 3: Check if the Service status is running. If not, click on Start To start running it.
Step 4: Put Startup type wall Automatic.
Step 5: Click Apply> ok To save the changes.
Step 6: Restart your device and check if the driver is missing available.
Hopefully the above solutions will bring the network adapter back on your PC. In case you still do not see the network adapter, you should check Windows updates. Sometimes the network adapter is not compatible with the current Windows version. To check the update available access Settings> Update and Security.
I wish you success!
