

How to create excel file on computer As one of the document processing skills that everyone needs to know. The article will guide in detail How to create excel file For beginners.
Microsoft Excel is a famous spreadsheet software that has long been very popular for its useful and excellent features.
In the previous section in the Excel 2016 section, network administration has helped you get acquainted with Microsoft Excel and learn about OneDrive. Today, we continue to share with you about How to create new and open spreadsheets available in Excel 2016. Please refer to!
Introducing Excel 2016 spreadsheet
Excel file Called the Workbook file in Excel. Whenever you need to start a new project in Excel, you will need to create a new workbook file. There are several ways to start working with a workbook spreadsheet in Excel. You can choose Create a new spreadsheet – or one empty spreadsheet or one Sample spreadsheet Pre -designed – or open one Propertical table available.
Watch the video below to learn more about How to create new and open spreadsheets available in Excel 2016:
About OneDrive
Whenever you open or save a spreadsheet, you will have the option to use OneDrivethis is an online file storage service in your Microsoft account. To activate this option, you will have to Sign in to Office. To find out more, visit the Excel 2016 instruction (Part 2): Learn about our OneDrive.

Create new Excel 2016 drum spreadsheets
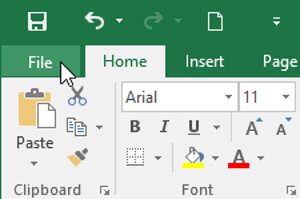
1. Select the tab File. Backstage View Will appear.
2. Select Newthen click Blank Workbook.
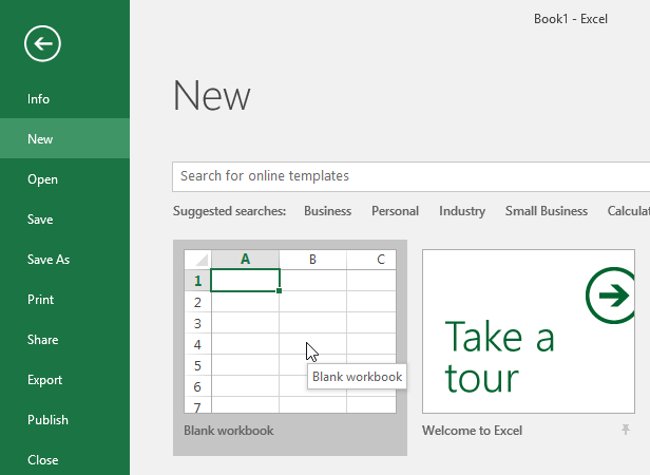
3. A new drum spreadsheet will appear.
Open the existing excel spreadsheet
In addition to creating new spreadsheets, you also need to open a spreadsheet before. To learn more about the spreadsheet, please refer to the article instructing the whole Excel 2016 (part 4): How to store and share our spreadsheet.
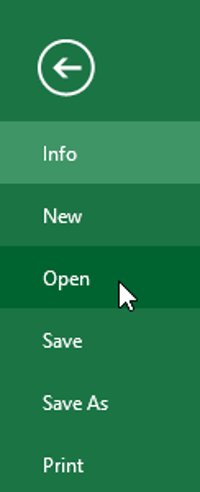
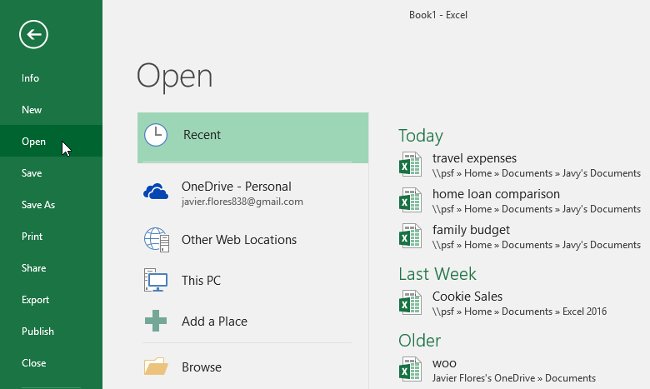
1. Backstage Viewthen click Open (Open).
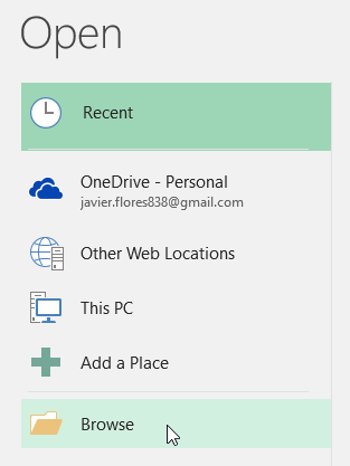
2. Select Computerthen click Browse (Approve). Also, you can choose OneDrive To open the files stored on your OneDrive.
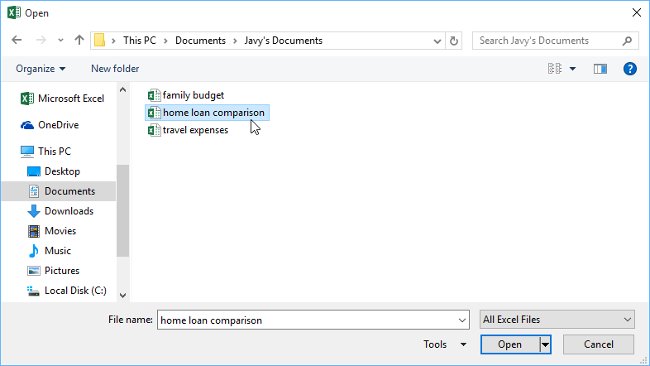
3. Dialog box Open Will appear. Determine the folder and select the worksheet, then click Open.
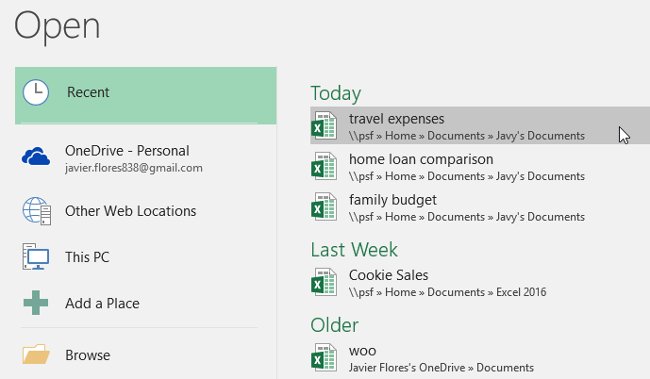
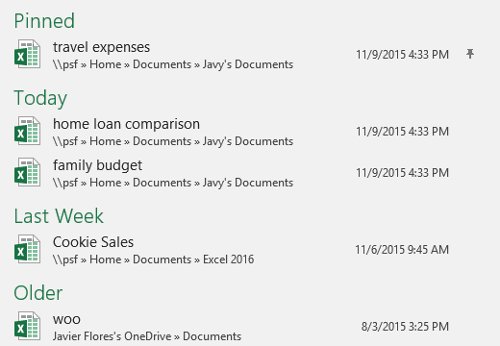
- If you have recently opened the desired spreadsheet, you can Browse through recent spreadsheets Instead of searching for files.
Pins of Excel spreadsheets
If you often work with the same spreadsheet, you can pin it into the mode Backstage View For faster access.
1. Backstage Viewthen click Open. Your recent editing spreadsheets will appear.
2. The pin icon will appear next to the spreadsheet. Click Pin icon (as shown).
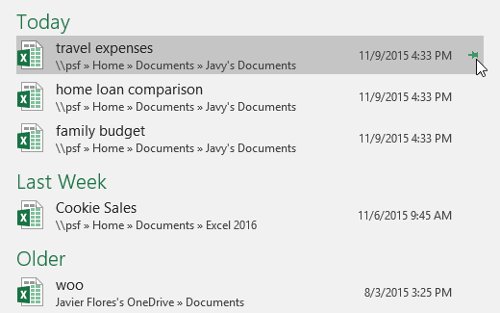
3. The spreadsheet will be in Recent Workbooks. To remove the spreadsheet, just click on the pin icon.
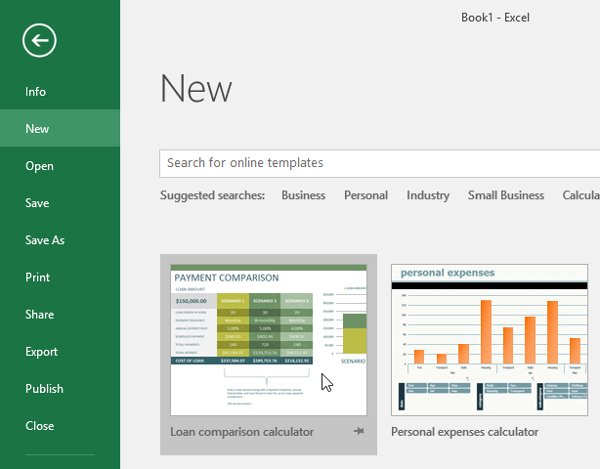
Use available samples (template)
Sample Is the spreadsheet Designed That you can use to create a new spreadsheet quickly. Samples usually include custom formats and predefined formulas, so they can save you a lot of time and effort when starting a new project.
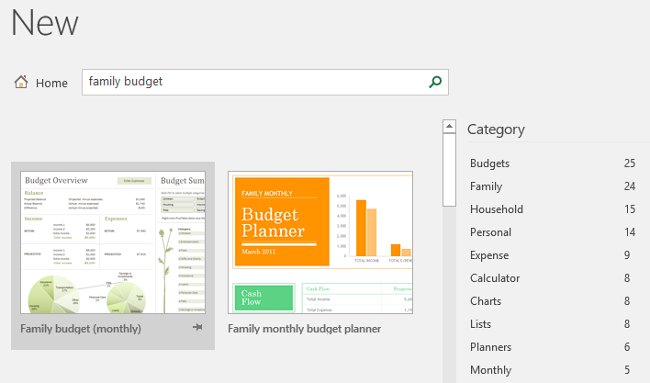
Create a new spreadsheet from the sample
1. Click the tab File to access Backstage View.

2. Select New. Some samples will appear below the option Blank Workbook (Empty spreadsheet).
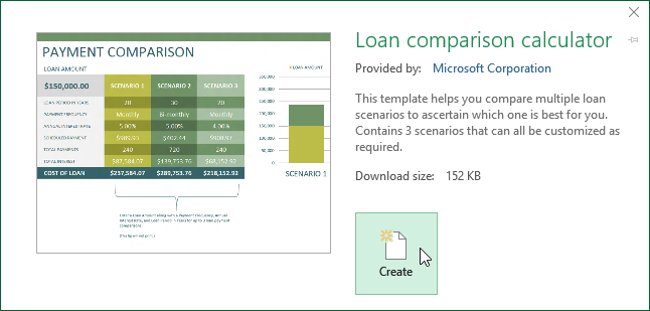
3. Select the sample to review.
4. The preview of the sample will appear with additional information on how to use the mold.
5. Click on Create (Create) To use the selected sample.
6. A new spreadsheet will appear with the selected sample.
- You can also browse samples by genre or use search bar to find a specific sample table.
- It is important to note that not all samples are created by Microsoft. Many models are created by third and even individual suppliers, so there will be some models that can work better than other models.
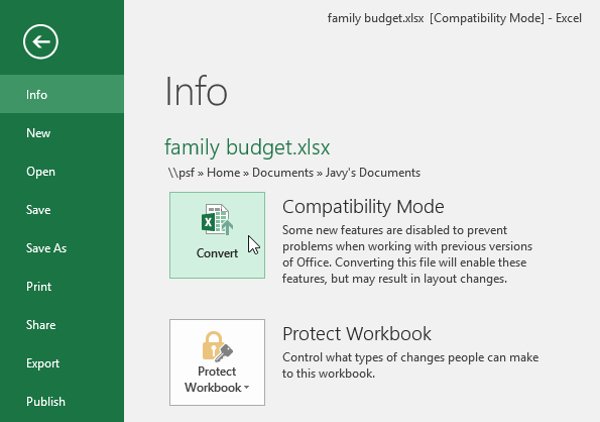
Compatibility mode (compatible mode)
Sometimes, you need to work with spreadsheets created in the previous versions of Microsoft Excel, such as Excel 2003 or Excel 2000. When opening these types of spreadsheets, they will appear in the mode Compatibility mode (compatibility).
Compatible mode disabled certain features, so you can only access the commands found in the program used to create a spreadsheet. For example, if you open a spreadsheet created in Excel 2003, you can only use the tab and command found in Excel 2003.
In the figure below, you can see that the spreadsheet is in the mode Compatibility modeindicated at the top of the window on the right of the file name. This will disabled some 2016 excel features And they will be gray on the ribbon toolbon.
To Out of Compatibility mode modeyou need to convert the spreadsheet into the current version. However, if you collaborate with others only have access to an previous version of Excel, it is best to leave the spreadsheet in the compatibility mode mode to format unchanged.
To convert a spreadsheet
If you want to access all the 2016 Excel features, you can Conversion of spreadsheets into file format 2016.
Note that the conversion of a file may change the initial layout of the spreadsheet.
1. Click the tab File To access the Backstage View.
2. Positioning and selecting commands Convert (Convert).
3. Dialog box Save as (Save in the form) will appear. Select the location you want to save the spreadsheet, enter the file name for the spreadsheet and click Save (Save).
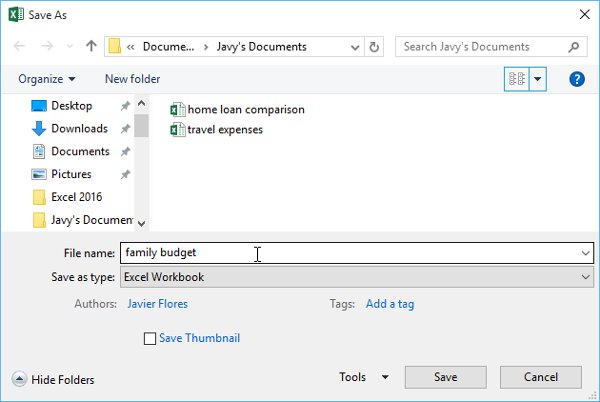
4. The spreadsheet will be converted to the latest file type.
Autorecover
Excel automatically save the working workbook temporarily while you are working on them. If you forget to change, or if Excel is faulty, you can restore the file with the Excel Autorecover feature.
To use Autorecover:
- Open Excel 2016. If the automatic versions of the file are found, the Document Recovery table will merge.
- Click to open an available data. This workbook will be restored.
Note: By default, Excel Autosves will automatically save every 10 minutes. If the workbook edit is less than 10 minutes, Excel may not support Autosaved.
If you don't see the file you need, see all Autosaved files from the Backstage view. Just come File> Info> Manage Workbooks> Recover Unsaved Workbooks. Here, you can set the option to automatically recover the necessary.
Errors to avoid when using Microsoft Excel
Excel helps to manage complicated data easier, but some common errors can turn that ease into frustration. These errors can lead to inaccurate results, making it difficult to make mistakes or even make you spend hours working. Here are some common errors to avoid when using Excel:
Create formula too complicated
Avoid using complex formulas to keep the spreadsheet easy to manage, debug and amend. Ideally, you should not put too many things into a single box. This makes the spreadsheet easier to understand and simplify everything for others may need to work with them.
Print without reviewing
Because Excel does not automatically format the perfect data to print, you need to check before printing to avoid losing time to edit.
Create too many worksheets
This action makes it difficult for other people and others to find data or calculations. This habit is also complicated that data reference on multiple formulas in the formula and makes the audit difficult. In addition, each additional workplace increases the file size, slowing down performance.
Next article: Excel 2016 – Lesson 4: How to store and share spreadsheets
Have fun!
