

Backing up your Raspberry Pi isn't too complicated. While there are many sophisticated backup solutions, sometimes a simple approach is the most effective. This article will show you how to use rsync – a small but powerful command line tool, perfect for creating reliable local backups of your Raspberry Pi setup.
Use Rsync to back up Raspberry Pi files and folders
The simplest way to backup a directory is to use the command:
rsync -av /source/directory /backup/locationFor example, to back up the root folder to an external hard drive mounted at “/media/backup”, use the command:
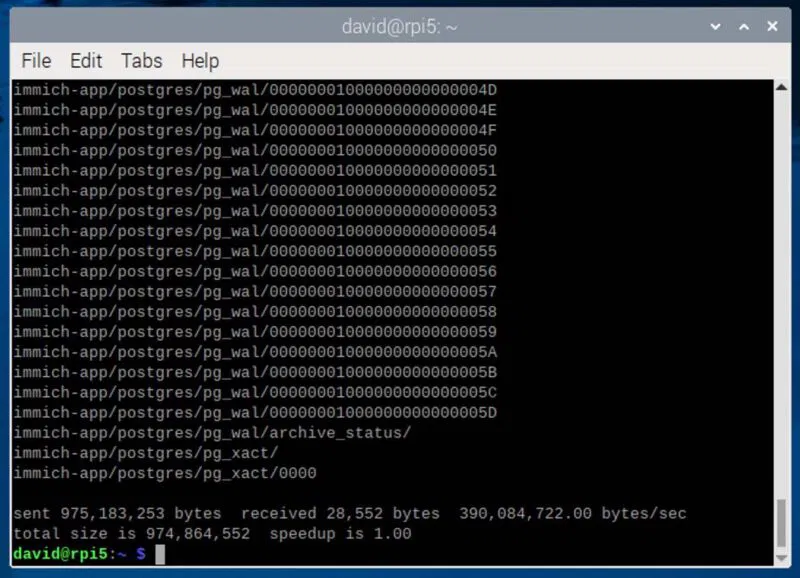
rsync -av --delete /home/david/immich-app /media/backup… to backup the photo library database.
Here's what the different options do:
- -a Enable archive mode, which preserves file permissions, ownership, and timestamps
- -v provides detailed output so you can see what is being copied.
- –delete delete files from the backup location that no longer exist in the source.
Note: You should also know that rsync pays special attention to trailing slashes in paths. The trailing slash on the source means “copy the contents of this directory” not the directory itself. For example, rsync -av –delete /home/pi/folder /media/backup copies the contents of 'folder' directly into 'backup', while removing the slash copies the 'folder' folder itself into 'backup'.
Verify the Raspberry Pi backup
Before relying on a backup, you should verify that it works correctly. The simplest way to test is to use the test run option with rsync, which can be specified as -n or –dry-run. Run command:
rsync -avn --delete /home/pi/folder /media/backup… will show no files to transfer if your backup is up to date.

For more thorough verification, you can add options -c or –checksum into your rsync command. Although slower than the default timestamp and size comparison, this ensures that every file is completely identical between the source and the backup by calculating a checksum. Just run:
rsync -avc --delete /home/pi/folder /media/backupThe most detailed way to verify your backup is to use the diff command, which compares every file and folder between the source location and the backup location. To perform this verification, use:
diff -r /home/pi/folder /media/backup/folderOptions -r tells diff to check all subfolders recursively. If the command produces no output, it means the backup is identical to the source. If there are differences, diff will tell you exactly which files are different or missing.
Create a full backup of your Raspberry Pi using Rsync
In some cases, it may be more convenient and safer to back up your entire Raspberry Pi SD card instead of just a handful of important folders.
To create a full backup of your Raspberry Pi using rsync, you'll need a backup destination – another SD card or external hard drive with enough space to hold your entire system. The backup drive must be formatted with a Linux-compatible file system such as ext4 to properly preserve all file permissions and attributes.
The hardest part about backing up an entire Raspberry Pi system is properly handling special folders and system files. From experience, the easiest solution is to exclude system folders that do not need to be backed up or could cause problems if restored. Create a file named “backup-exclude.txt” and add the following system folders that need to be excluded from the backup:
- /proc/* # Runtime process information
- /sys/* # System and kernel information
- /dev/* # Device files
- /tmp/* # Temporary file
- /run/* # Runtime data
- /mnt/* # Mount point
- /media/* # Removable media
- /home/pi/.cache/* # User cache file
- /lost+found # File system recovery directory
With these exclusions in mind, you can close as many running applications as possible and then execute the following backup command:
sudo rsync -avxhP --delete --exclude-from=/home/pi/backup-exclude.txt / /media/backup/rootfs/Options -x prevents rsync from crossing file system boundaries, which can cause problems with system directories. Options -h causes rsync to display file sizes and transfer rates in a human-readable format.
Automatic rsync backups
While manually created full backups are useful, many people prefer to automate them using Linux's built-in cron scheduler. To set it up, create a file named “backup-pi.sh” in the root directory with the following content:
#!/bin/bash
BACKUP_DRIVE="/media/backup"
LOG_FILE="/home/pi/backup-log.txt"

# Check if backup drive is mounted
if ! mountpoint -q $BACKUP_DRIVE; then
    echo "Backup drive not mounted at $BACKUP_DRIVE" >> $LOG_FILE
    exit 1
fi

# Create timestamp for logging
date >> $LOG_FILE

# Run backup with error checking
sudo rsync -avxhP --delete \
    --exclude-from=/home/pi/backup-exclude.txt \
    / $BACKUP_DRIVE/rootfs/ \
    >> $LOG_FILE 2>&1

# Record backup completion
echo "Backup finished at 17/12/2024" >> $LOG_FILE
echo "-------------------" >> $LOG_FILE
Make the script executable by chmod +x backup-pi.shthen schedule using cron. Enter crontab -e and add this line to run daily backups at midnight:
0 0 * * * /home/pi/backup-pi.sh
Restore Raspberry Pi Rsync backup
To restore individual files or folders, the process is very simple. Just swap source and destination in the rsync command. For example, to restore your photo library from a backup:
rsync -av /media/backup/home/david/immich-app/ /home/david/immich-app/To restore the entire system, you first need to reinstall Raspberry Pi OS on your SD card. Start by installing a fresh copy of Raspberry Pi OS on a new SD card. Once done, boot the Pi with the new SD card and complete the initial setup process. Next, connect your backup drive to your Pi. Once everything is properly connected and mounted, you can restore your backup with the rsync command:
sudo rsync -avxhP /media/backup/rootfs/ /Once the restore is complete, you should restart your Pi to check if all the restored files have loaded properly. You should also verify that your important services and configurations are working as expected.
If some applications do not work after recovery, check their log files (usually in /var/log/) for any permission-related errors. You may need to run:
sudo chown -R $USER:$USER /home/$USER… to fix ownership of root directory files. As you can see, restoring with rsync is as easy as creating a backup – just reverse the source and destination paths in the commands.
Although the rsync command line is very simple, there are some great GUI alternatives if you're not comfortable with the terminal. For example, Syncthing allows you to synchronize multiple folders across different systems, while Timeshift provides system snapshot functionality with a clean interface. Regardless of which tool you choose, it's important to maintain regular backups of your Raspberry Pi to protect your valuable data and system configuration.
