

Windows 11's Snipping Tool has added some extremely useful features when we take computer screen shots. For example, you can hide text on Windows 11 screenshots, covering up personal content or content you don't want shown in the screenshot. Here are instructions for hiding text in Windows screenshots 1.
Instructions for hiding text in Windows 11 screenshots
Step 1:
First you press Windows + Shift + S key combination to open Snipping Tool on Windows 11 computer.
Step 2:
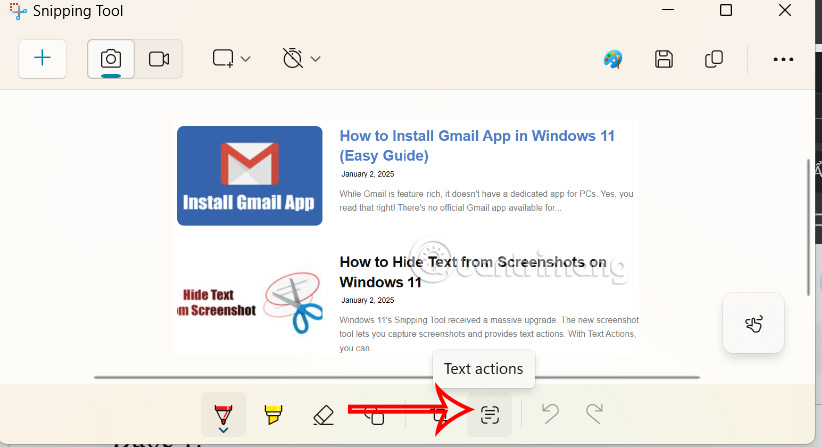
Then you take a screenshot with the Snipping Tool as usual. In the screenshot editing interface, the user clicks Text Actions icon as shown below.
Step 3:
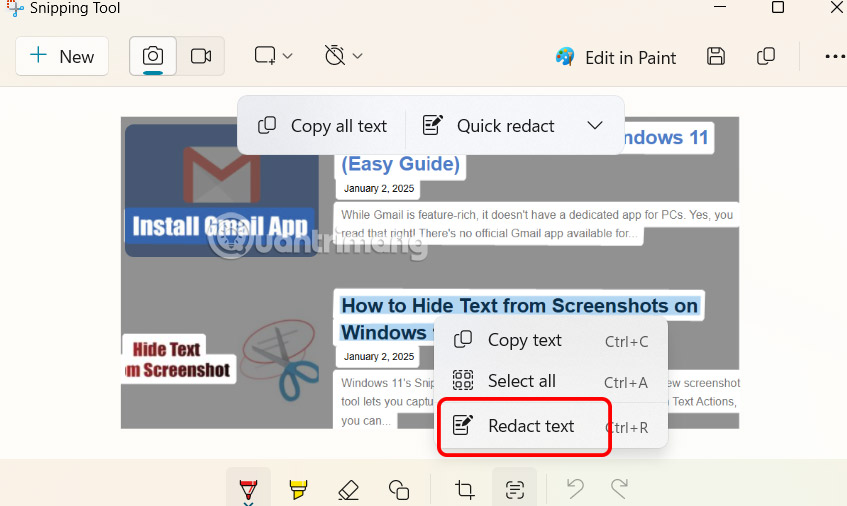
User Resume Highlight the text you want to hide in the screenshot. Afterward Right-click and select Redact Text in the menu displayed. If you want to hide emails and phone numbers, you can click the Quick Redact button.
Step 4:
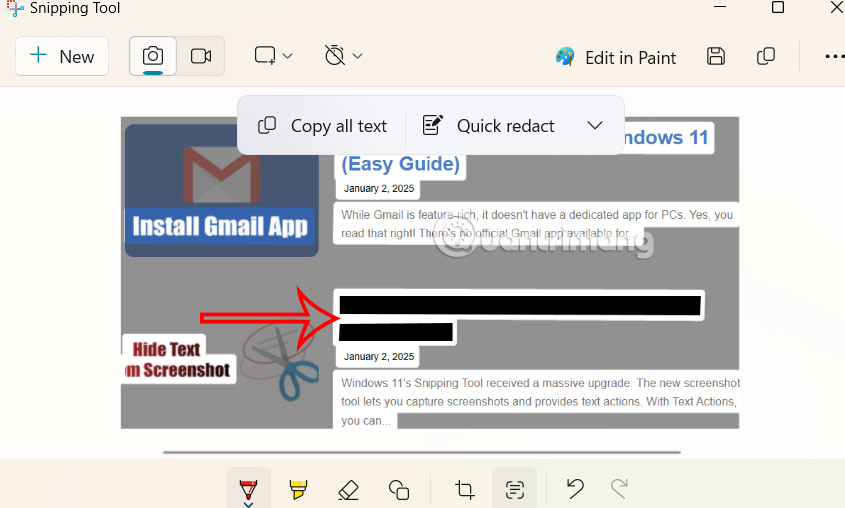
As a result, you will see the selected text hidden in the screenshot. Finally, save this screenshot for use.
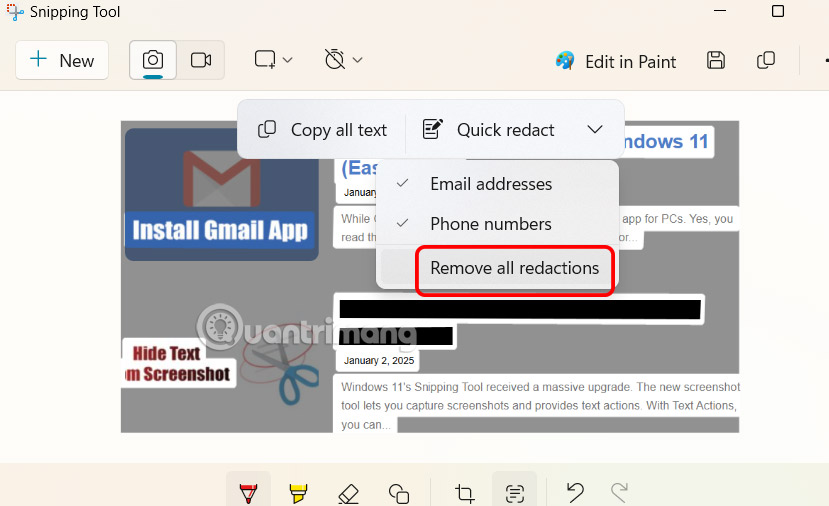
In case we want to re-display hidden content in the photo, we click on the arrow icon at Quick Redact, then Select Remove all redactions in the menu as shown below. Then all the text in the screenshot is displayed again.
