

Night photography requires a different approach than daytime photography. Limited lighting, shaky hands, and noise can cause photos to be blurry and noisy. However, with the right techniques, you can take sharp nighttime photos on your phone – sometimes even better than a professional camera.
1. Use a tripod
Shooting in low light requires a sturdy stand to avoid motion blur as even small movements can ruin an otherwise great photo. That's why it's always a good idea to use a tripod for night photography. It allows you to freely create without fear of camera shake. It keeps everything steady and reduces blur in the final image.
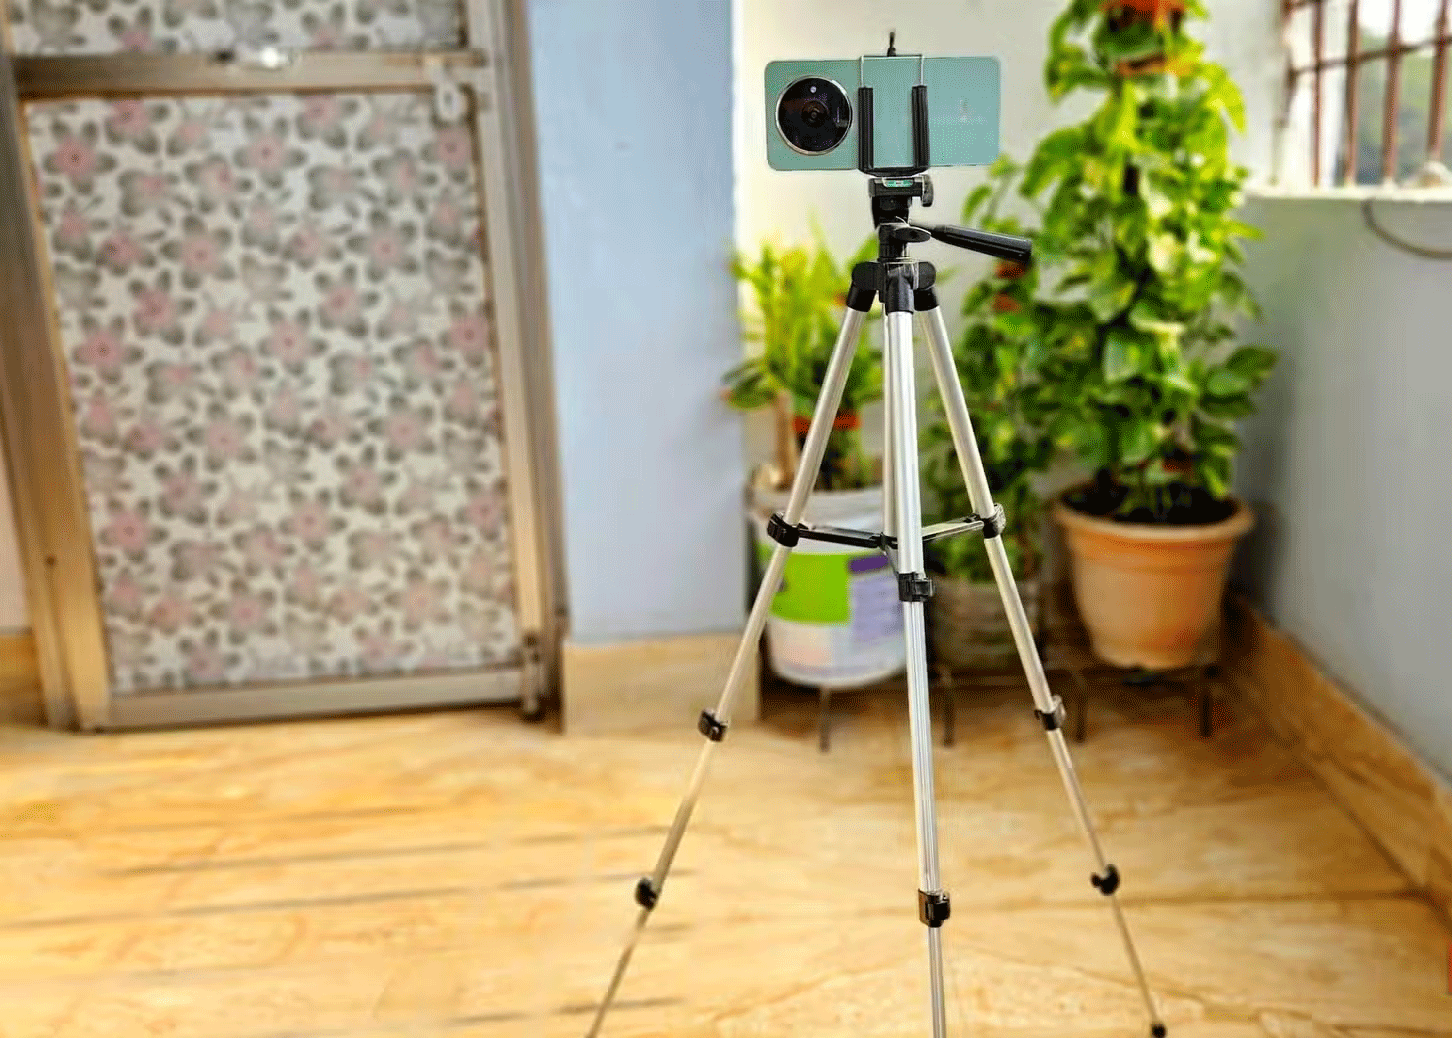
If you don't have a tripod, use solid surfaces like walls or rocks to keep the camera steady. Additionally, use the timer on the camera app to avoid any minor vibrations that may occur when pressing the shutter button. Setting this for a few seconds gives you enough time to take your hand off the phone before taking a photo.
2. Clean the camera lens
For a sharp night photo, make sure your lens is clean. Dust, smudges or fingerprints can damage image quality. Even if your camera is stable, a dirty lens will cause blurry photos. It only takes a few seconds to clean, but it makes a big difference in the final image.
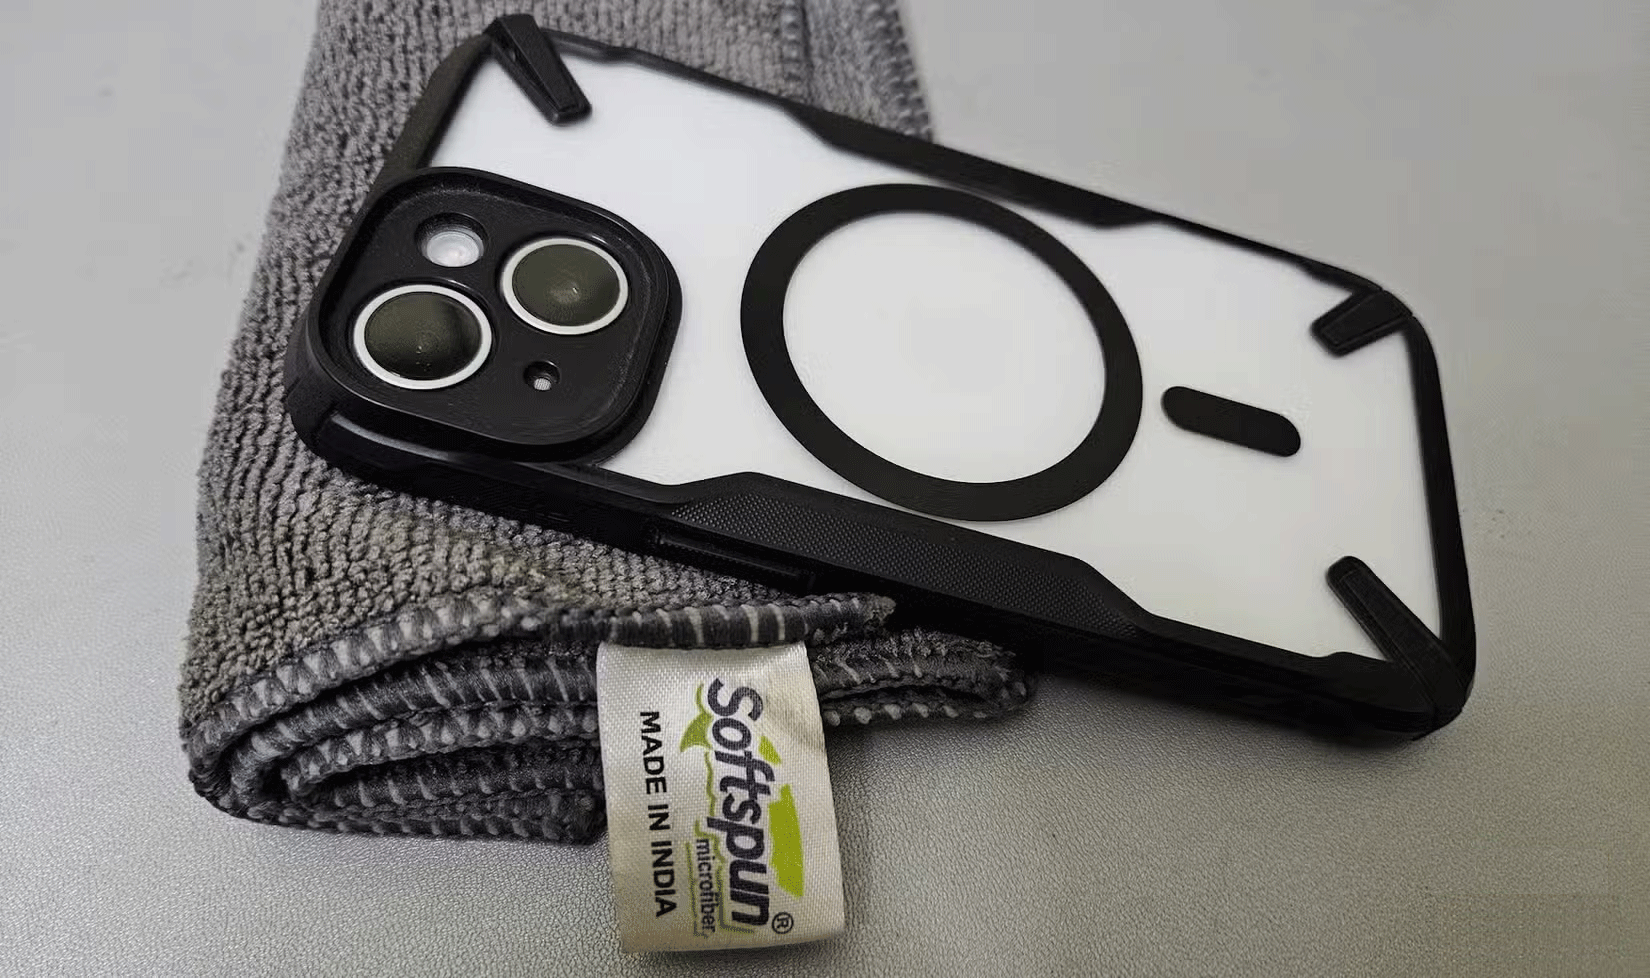
When taking night photos, clean the lens thoroughly. Use a microfiber towel to wipe off dust or smudges – it's gentle and won't scratch the lens. Wipe in a circular motion from the center outward, then gently blow on the lens to remove any remaining debris.


3. Avoid flashes and direct light sources

Flash may seem useful for night photography, but usually it isn't. Flash shines in bright, unnatural light, which washes out color and texture. Instead, try using natural or artificial light that is already available. Street lights, building lights, and even moonlight can add great atmosphere to night photos.


4. Adjust exposure manually
Exposure is the amount of light that enters the camera when you take a photo. Too much light will cause the photo to be overexposed, while too little will cause the photo to be dark. Achieving correct exposure is key to beautiful photos.
In low-light spots, the camera often brightens things up to get more detail, which can cause bright areas to be overexposed and dark areas to appear grainy. Therefore, you should adjust the exposure manually in these situations to get the desired results.


5. Turn on night mode or adjust HDR settings
Almost all smartphones today have a night mode camera. Some brands may call it Low Light or Night Sight mode, but they all function the same. This feature detects low light conditions and adjusts camera settings accordingly. This feature can increase exposure time, slow down shutter speed, or take multiple photos and combine them into one stunning photo.
This way, you can take clear night photos without the need for additional equipment. Just be careful about motion blur if you or your subject moves. To avoid that, use a tripod or prop the phone on a fixed object.
6. Use Pro Mode for more control
Pro Mode on your smartphone camera allows you to control various settings manually. Unlike auto mode, where the camera decides everything, Pro Mode gives you control over your photography. This feature is usually found on high-end smartphones, where you can manually adjust shutter speed, ISO, and white balance.
When taking photos at night, use a longer shutter speed, about 1/4 to a few seconds. This speed allows more light into the camera, giving you brighter photos. But be careful – longer shutter speeds can blur photos if your hand is unsteady. Use a tripod or place your phone on something sturdy to avoid that!
7. Shoot in RAW format
The RAW format is like a digital version of a film negative. This format captures and stores raw data from the camera's sensor without compression or processing. This means you get the highest quality images possible and lots of flexibility when it comes to editing.
With RAW files, you have complete control over the final image. You can adjust exposure, white balance, and color temperature without losing quality or detail. Unlike JPEGs, which are compressed and lose data every time you edit, RAW files retain their data and can be edited multiple times without losing quality.
The key to creating a great photo lies in finding the right balance between your settings and experimenting until you get the perfect shot. So, test them out and see how they work for you.
Wishing you success!
Refer to the following articles for more information:
