

The Windows 10 Clipboard Historical feature allows you to save and retrieve many copies without losing previous items. Although this is a handy feature, you need to activate it manually and it needs a special hotkey to display. Discover how to use Windows 10 clipboard through the following article!
How to turn on clipboard history Windows 10
The Windows 10 Clipboard Historical feature is not turned on by default, but this feature is very easy. Just press the Windows + V key and Clipboard history will open in the lower right corner of your screen.
If the window indicate Your clipboard is empty Or display the items you have copied before, the clipboard history has been enabled. If it reports Can't Show Historyclick on Turn on And Windows will activate it.
Note : Where are you wondering where the clipboard files are located in Windows 10? These items are stored in the form of individual files in a hidden folder C: \ Users \[username]\ AppData \ Local \ Microsoft \ Windows \ Clip. You cannot directly browse this folder but you can view and manage past items through Clipboard History feature.
How to add item to Clipboard history
Now, clipboard history is active, it is time to understand how it works. To get started, try copying text and images to put into the clipboard. Methods of copying an item on the old clipboard will apply to the new clipboard, so copy the items by use. Ctrl + C Or right -click them and choose Copy.
Now press the key Windows + V To open the clipboard history. You will see all the items you have copied in the list, with the most recent item at the top.
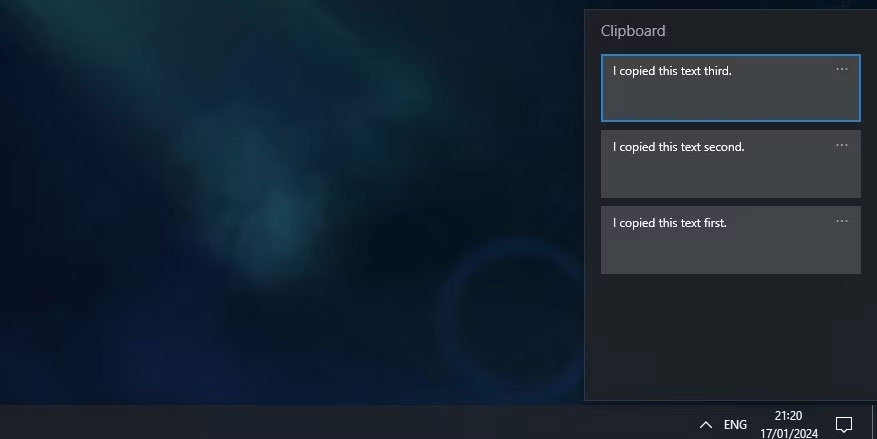
If pressed Ctrl + Vyou will paste the most recently copied item. You can also display Clipboard history and click on the previously copied item to paste. When you do this, Ctrl + V Will paste the item you have chosen instead of the most recent item.

How to pin a section in the history of clipboard Windows
When you restart the PC, the items stored in the clipboard will automatically be deleted. However, you can force the items to stay in the clipboard by pinning them.
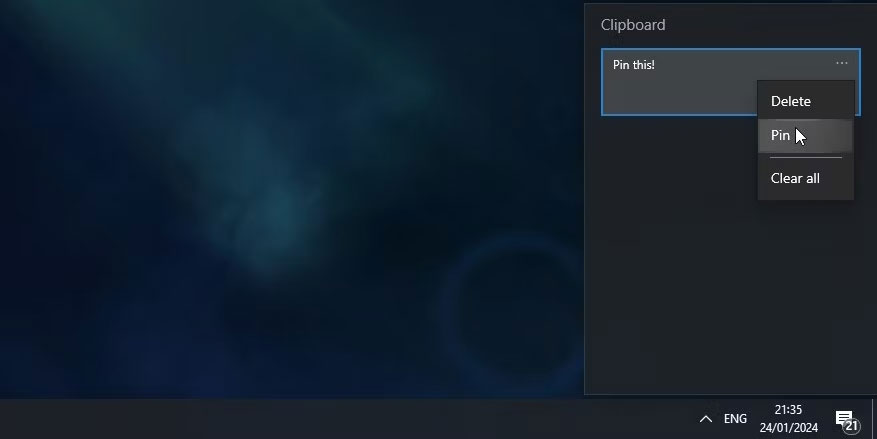
Press the key Windows + V To open the clipboard history. Click the three dots icon on the section you want to hold and click Battery. Now, this section will still be on your clipboard even if you turn off the PC.
To delete a pin, click on the three dots and click Unpin.
The historical way of Windows clipboard on all your devices
If you use multiple Windows 10 devices, you can synchronize the items in the clipboard between them. To synchronize clipboard between devices, you must log in to Windows with your Microsoft account, not a local account.
After you log into Windows with your Microsoft account, go to Settings> System> Clipboard and click the conversion button below SYNC Across Devices.
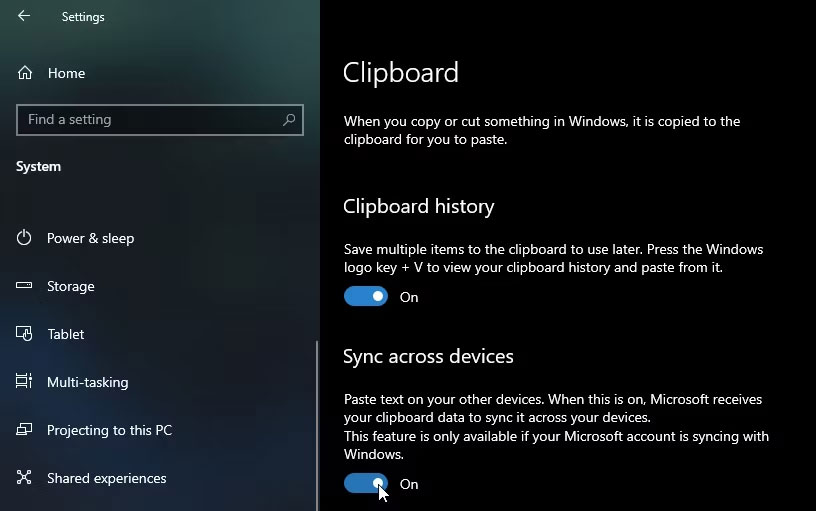
Below this conversion button has two options: Automatically sync text that i copy and Never Automatically Sync Text That I Copy. The first option will synchronize everything you copy to other devices, which is very useful if you are the only one to use either of the two devices.
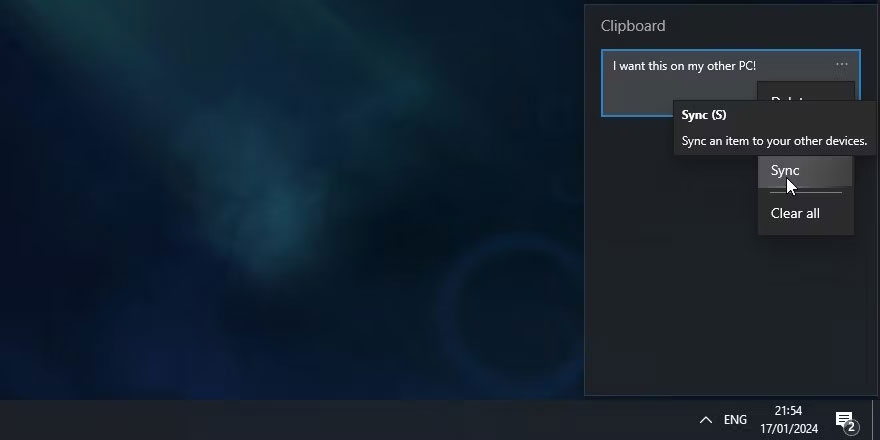
The second method will not synchronize your items as soon as you copy them. Instead, you need to open the clipboard history, click on the three dots next to the item you want to switch to and click SYNC. This option is best if you work with sensitive data and want to control what is sent.
How to delete items from clipboard history
You can delete Clipboard history at any time.
Press the key Windows + V To open the clipboard history and click three dots on one item. Then click Clear All At the end of the window. All items except for the staples will be deleted.
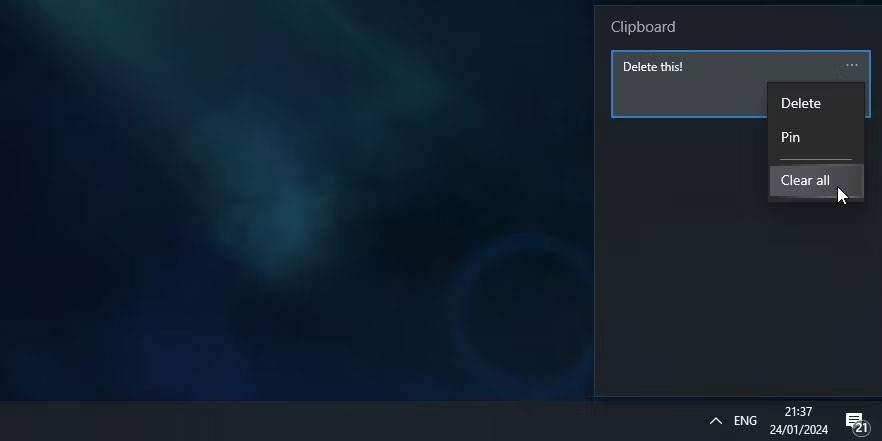
You can also use the above process to delete a item; Just click on Delete instead of Clear All.
How to disable the Windows 10 Clipboard history
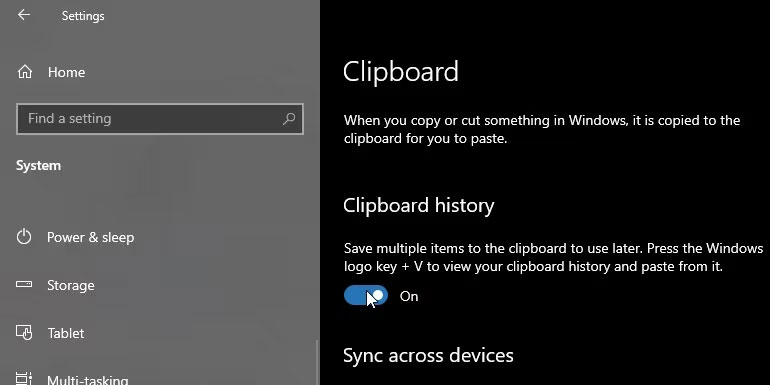
If you don't want Windows to store clipboard history, you can turn it off.
Go Settings> System> Clipboard And click the sliding button below Clipboard history Let it switch to status Off. Remember that when you do this, the entire clipboard history (including stapled items) will be deleted.
I wish you success!
See also:
