

All of the following logo commands will help students easily perform operations when using this programming software. When understanding the logo command, the students will perform faster than the requirements such as the turtle to the starting position, backing the turtle 100 steps. The following article will summarize all the basic logo commands.
Summary of basic MSWlogo commands
Some common questions
In the logo software for the turtle to return to the starting position, which command I use: HOME
When executing the command pd Turtle will: Show mecommand pu The turtle will hide.
In the logo software, the turtle wants to back up 100 steps I use: bk 100
To delete the screen and the turtle returned to the starting position, I used the command: Home
Logo command group moves
| Command | Acronym | Function |
| Forward X | FD x | Go to x steps |
| Back x | BK X | Backing x step |
| Left x | Lt x | Tortoise to the left x degrees |
| Right X | RT x | Turn the turtle to the right side x degrees |
| ARC AR | Create a circle with angle A and radius of R. After creating the turtle, stand still. | |
| ARC2 AR | Create a circle of angle A and radius r. Where to create turtles follow there. | |
| Ellipse xy | Create an ellipse with 2 parameters, horizontally according to the height x axis according to the y axis, the turtle stands still. | |
| Ellipse2 xy | Create an ellipse with 2 parameters, horizontally along the height x axis according to the Y axis, the turtle runs on the ellipse road. | |
| Ellipseearc |
The length of the supply XYZ (Z is the degree) For example, want to draw half of the ellipse round at the front of the turtle (90) the following command: Ellipseearc 180 150 80 90 90 |
|
| Circle r | Draw a circle of R -turtle radius standing at the center. | |
| Circle2 r | Draw a circle of R turtle radius moving in a circle, after completing the turtle lying on the circle. |
Group of notification results printing commands
| Command | Acronym | Function |
| Show [nội dung kết quả muốn in] | The same command is PR | |
| Label | Overcoming results | |
| Cleeartext | CT | Clean the statement window |
Graphic and color command group
| Command | Acronym | Function |
| Penup | PU | Move the turtle without leaving traces. |
| Pendown | PD | The commands moving after this command we will see traces of movement. |
| PE | Delete mode | |
| Setpensize n | Set the thickness, thinness of the drawing stroke (n is the thickness, thinness of the drawing stroke). This command can be done via the set → pen size … | |
| Setpc [R B G] | Set color for the drawing pen. Value from 0-255 | |
| Setfloodcolor [R G B] | Setfc[R G B] | Install the background color with Fill |
| Fill | Base color |
Turtle control command group and turtle's position
| Command | Acronym | Function |
| Hideturtle | HT | Tortoise hide |
| Showturtle | St | Turtle |
| Setpos xy | Bring the turtle to position X, Y | |
| Setx x | Move the turtle to horizontal x> 0 to the right, x | |
| SYY Y | Move the turtle if y> 0, down if y | |
| Xcor | See the x coordinates of turtles | |
| YCOR | See the Y Turtle's coordinates | |
| POS | See the current location | |
| CS | Delete and reset position | |
| Clean | Delete drawing strokes, keep the turtle position | |
| Home | Turtle returned to its original position | |
| Heading | Turtle's rotation | |
| Synheading | Tortoise | |
| Towards XY | Turn the turtle to the direction of the coordinates X and Y | |
| Distance xy | The distance from the current position to the xy coordinates |
Programming instructions by mswlogo
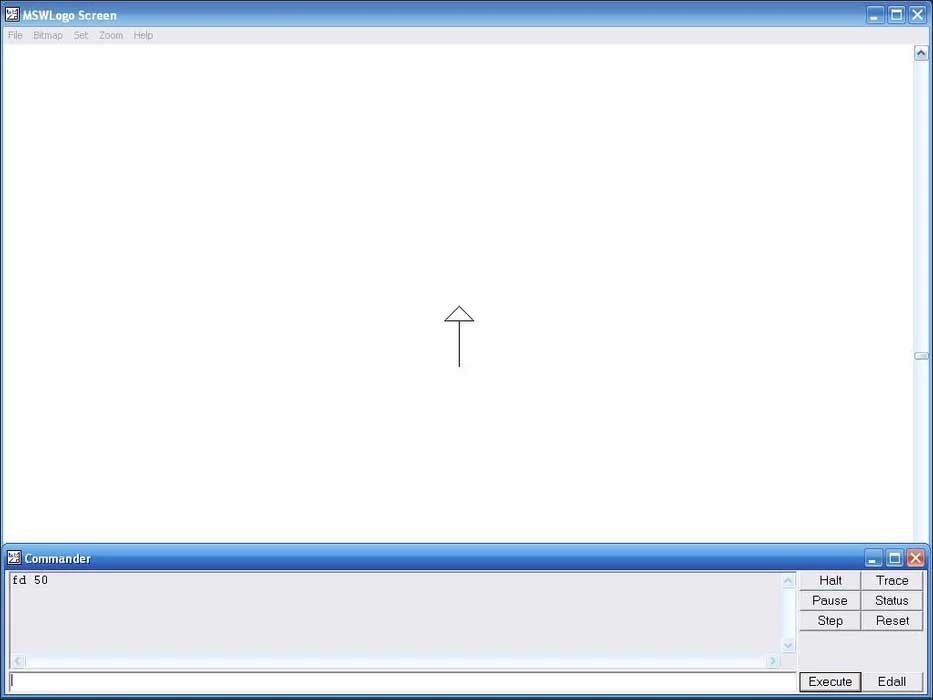
Step 1: Move the turtle
The turtle position will display at the center. At the command entry frame type forward 50 then click on Execute button To execute the command or press Enter.
Right to set up turtles will move 50 steps in a straight line. Can enter shortened FD 50.
In case you want Move the turtle in a straight line then enter the command RT 90 FD 50. The turtle will then turn 90 degrees to the right and move forward 50 steps.
If you want Rotate the turtle to the left then enter Command LT 90.
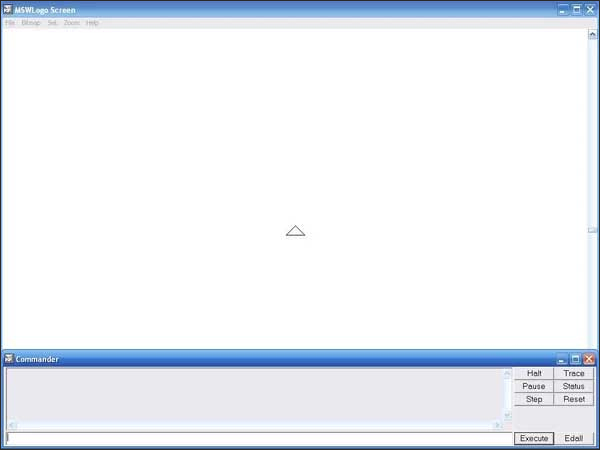
To Type the command back then Press BK 50 or Back.
If you want Delete the entire content displayed on the screen then enter lEarscreen or CS And move the turtle to the above position.
To Delete commands then press Cleeartext or CT.
Step 2: Create a process for Mswlogo
The process in Mswlogo is the steps of turtles will draw by the command or the content you need to execute.
To create a square drawing process, click on File Later Type Square Then click Enter. Click After Square and click Enter. Continue Type FD 50 RT 90 Four Times. Afterward, Click File Save and Exit.
In the command line window, Type Square process> Execute. At that time, the turtle will draw a square with a ratio of 50 x 50 x 50 x 50.
You continue Click Edall In the command line window and to the square the created process, Delete FD 50 RT 90.
Continue Repeat the steps above again But Type shorter command [Repeat 4 FD 50 RT 90].
Click on the Save and Exit file. Move to the command line window, Type Square Again and click Enter. The turtle will draw a square on the screen.
Once you know how to draw squares, you can easily create another shape. For example, want to draw a triangle to enter the repeat 4 FD 50 RT 120 command.
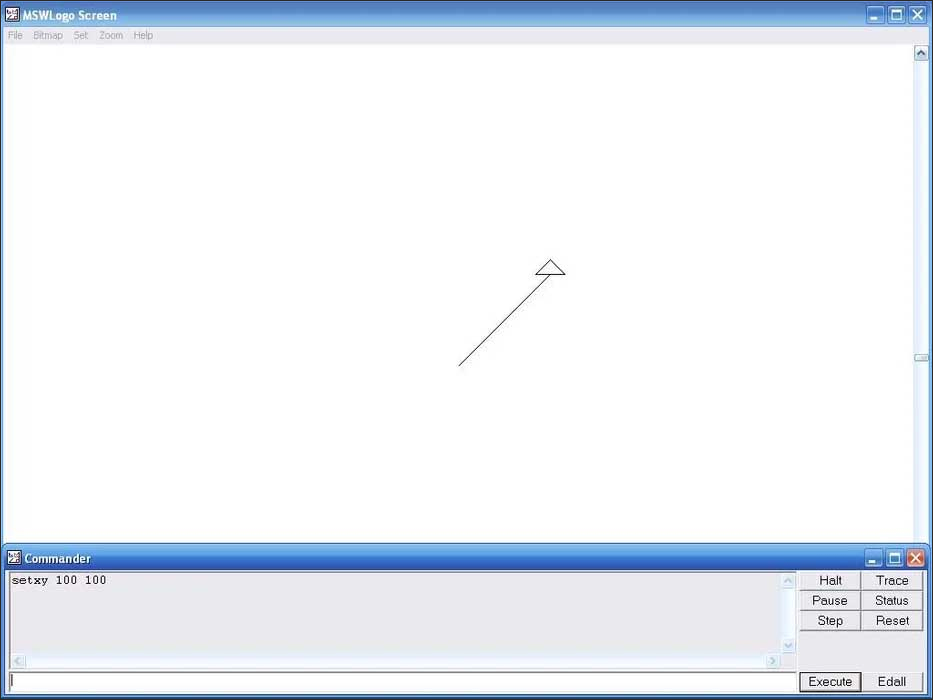
Step 3: Setxy coordinates
To move turtles to different positions, type coordinates with coordinate X moves turtles to left and right, The coordinates of the y moving the turtle up and down.
For example Type setxx 100 100 And press Enter to move the turtle to the right left and up and down 100 degrees.
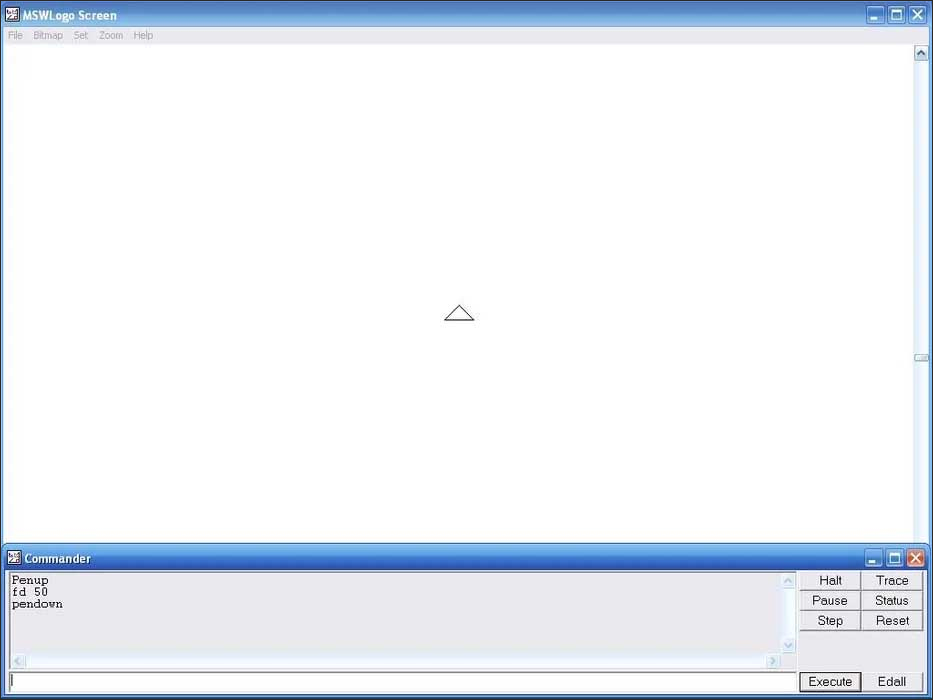
Step 4: Penup and Pendown
The turtle interface is like a pen, you Type Penup or PU command (abbreviated) and FD 50click Enter. Then the pen will be lifted and the turtle moves forward 50 steps but does not draw anything.
To put the pen, enter the command Pendown or PD.
Step 5: Create a window
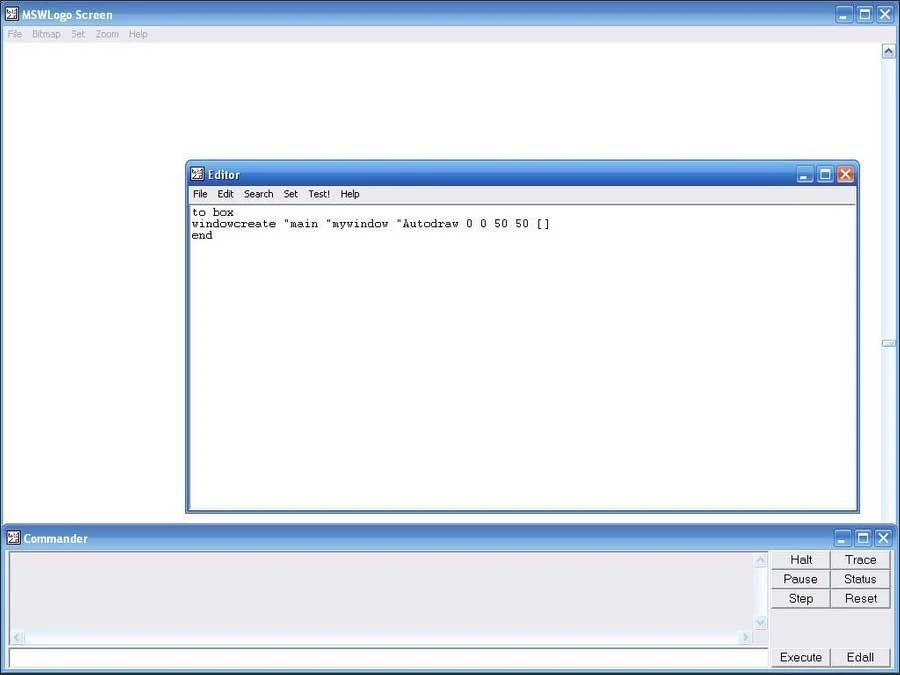
The window will contain the power button to run the processes. Press File> Edit then set Name for the new process is the box and click Enter. Continue Type WindowCreate “Main” Mywindow “Autodraw 0 0 0 50 50 [ ]. In there:
- Autodraw is the name display of the box, Mywindows is the name MSW logo used for other activities.
- 0 0 is the setxi coordinates of the box.
- 50 50 is the box size.
Continue typing Box command and press Enter. Then a window is on the left left of the screen.
Continue click Edall> Enter later (WindowCreate “Main” Mywindow “Autodraw 0 0 0 50 50 [ ] ).
Then you can create some function buttons. Firstly Click the Reset button In the command window to Delete Box. Squeeze Buttoncreate “Mywindow” Mybutton “Square 10 20 30 10 [square]. In there:
- Mywindows is the name of the button window.
- Mybutton is the name used for other tasks.
- Square is the name of the button.
- 10 20 is the setxy coordinates
- 30 10 is the button size.
- The parentheses around Square notify Mswlogo to run the square process when clicking on the button.
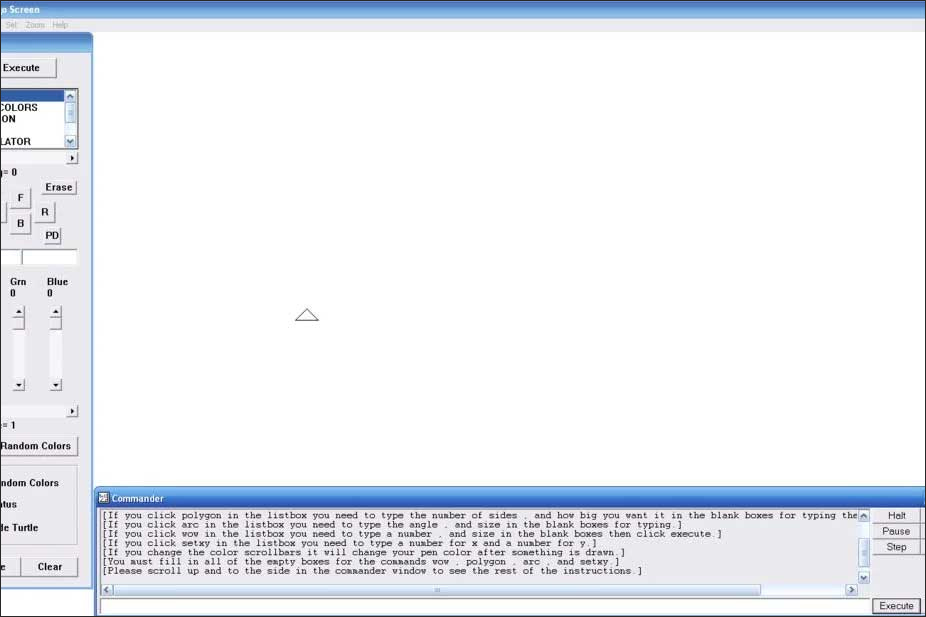
Knock Box command Then click Enter. A window is created with a button.
Next, create a window closing button by going to the process box, then press Enter behind the ButtonCreate line.
Knock The buttoncreate “mywindow” mybutton2 “Close 10 10 25 10 [windowdelete “mywindow]
Command windowdelete Will delete a window but you must Type “mywindow” Before to notify the window software you want to delete.
Time to type the command, enter the process box again and press Enter. We will have a window containing the square drawing button and close the window. At this time the interface is displayed as below.
Above is the entire logo command used in Mswlogo software, hoping to be helpful for you.
The logo is an educational programming language, designed in 1967 by Daniel G. Bobrow, Wally Feurzeig, Seymour Paper and Cynthia Solomon. Today, this language is mainly remembered for the use of “Turtle Graphic” (Turtle Graphic), in which the moving and graphic commands are created on the screen or by a small robot called called “Turtle”. The graphics of the turtle uses a guide to focus on the body, in which an object is moved around the screen with commands, such as “to left 90” and “Transition”, indicating similar actions For the current location and direction of the object instead of within a fixed framework. Along with recursive processes, this technique makes it easy to program complex and attractive models.
This language was originally formed to teach the concepts of programming related to LISP and Papert – called “general inference”, where students can understand (and predict and infer about) The turtle's dynamic by imagining what they will do if they are that turtle.
Logo is LISP's multi -model adaptation and dialect, a functional programming language. There is no standard logo, but UCBlogo has the best means to process a list, file, I/O and recursive in the instructions, which can be used to teach all computer science concepts, As Lecturer Brian Harvey of UC Berkeley did in a set of three computer science works. However, for teaching at the university level, the logo has been replaced by Scheme and scripting languages.
