

Printing in Word can be seamless, but sometimes problems can arise. Missing text, misaligned margins, or entire pages that don't print can disrupt your work. Luckily, most of these problems have easy solutions.
1. Make sure the printer is working
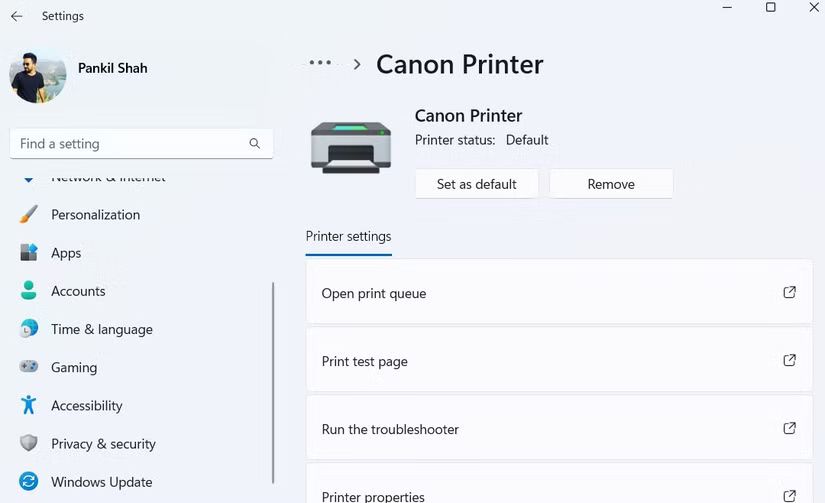
This may seem obvious, but starting with a proper diagnosis is always the best way to go. Before looking into any fixes, it's best to rule out any problems with the printer first. To do this, you can print a test page on your PC with these steps:
- Press Win + I to open the Settings app.
- Go Bluetooth & devices > Printers & scanners.
- Select the printer you are using and click the button Print Test Page.
If your printer is having problems, refer to the instructions on what to do when the printer doesn't work. However, if the test page printed correctly, continue with the following troubleshooting steps to resolve the issue.
2. Print other Microsoft Word documents
Sometimes, a problem with a document can cause Word to not print properly. Thankfully, Word has a handy feature that allows you to easily repair your documents.
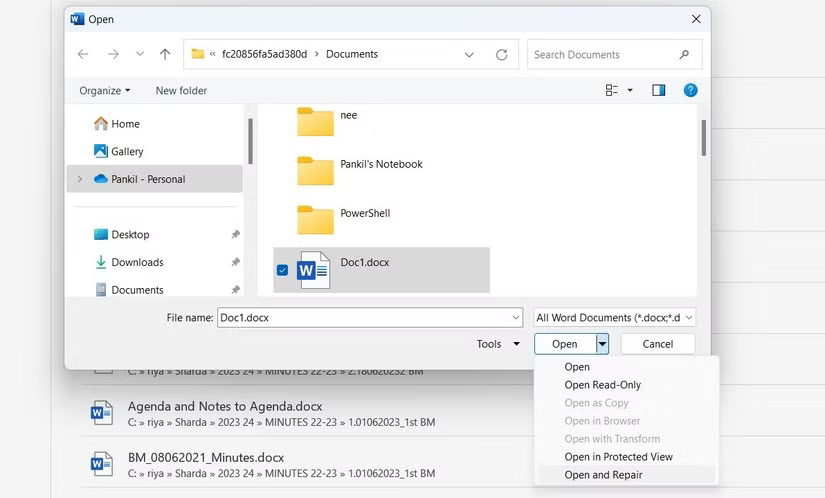
To use this feature, go to File > Open > Browse and select the Word file that does not print properly. Then, click the little arrow next to the button Open and choose Open and Repair. Wait for Word to repair and open the file, then try printing again.
Alternatively, you can create a new Word document and copy all the content from the original file into it. If this resolves the problem, the printing error has been isolated to the original document.
3. Print documents in other formats
This is a temporary solution, but can be useful if you are in a hurry and don't have time to check the cause of the problem. Just save the Word document as PDF and then print. PDF preserves the document's format and layout, ensuring it displays exactly as intended when viewed or printed.
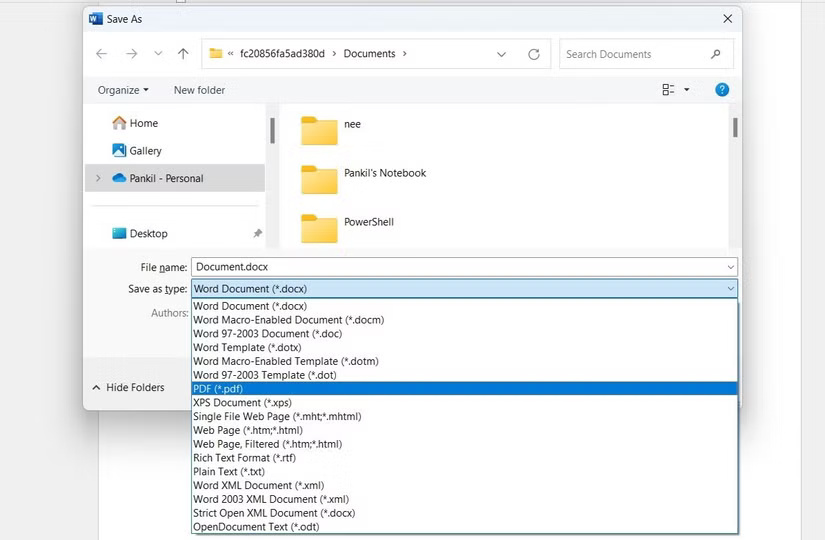
To convert Word files to PDF, tap F12 to open the dialog box Save As. In the drop-down menu Save as typeselect PDF and click Save. Your document will be saved as a PDF file and will automatically open after saving. Then try printing again and see if it works.
4. Check for problems with Windows
Both Windows 10 and 11 have printer troubleshooting tools that can automatically find and fix common problems. Therefore, you should run this tool if you are still having problems with Word prints. Here are the steps to take:
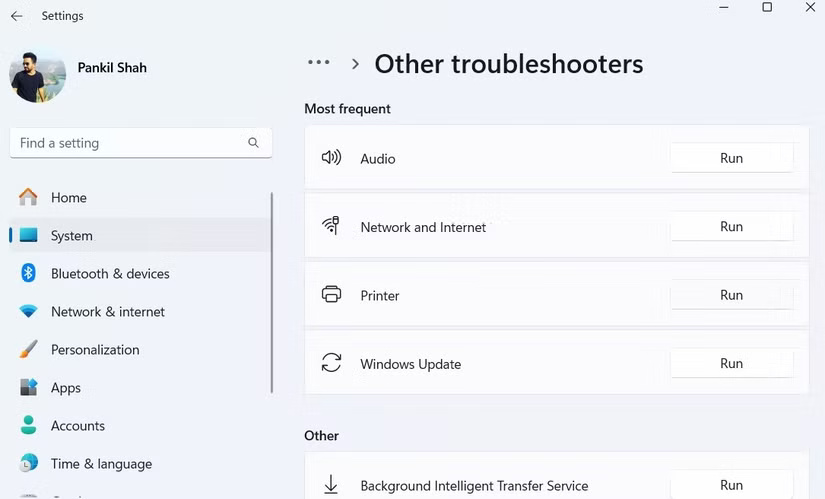
- Press Win + I to open the Settings app.
- Enter System > Troubleshoot > Other troubleshooters.
- Click the button Run next to Printer and follow the on-screen prompts.
If the problem persists after running the printer troubleshooter, the problem may be related to the printer driver on the PC.
5. Print page ratio problem
A less common but annoying printing problem in Word is when pages print at a fraction of their actual size. This usually happens because the scaling factors are set incorrectly in the print settings. Here's what you can do to fix that.
- In Word, press Ctrl + P to open the page Print.
- Click options Printer Properties below the printer.
- In tab Page Setupcheck the option Manual Scaling and adjust Scaling to 100%.
- Click OK to save changes.
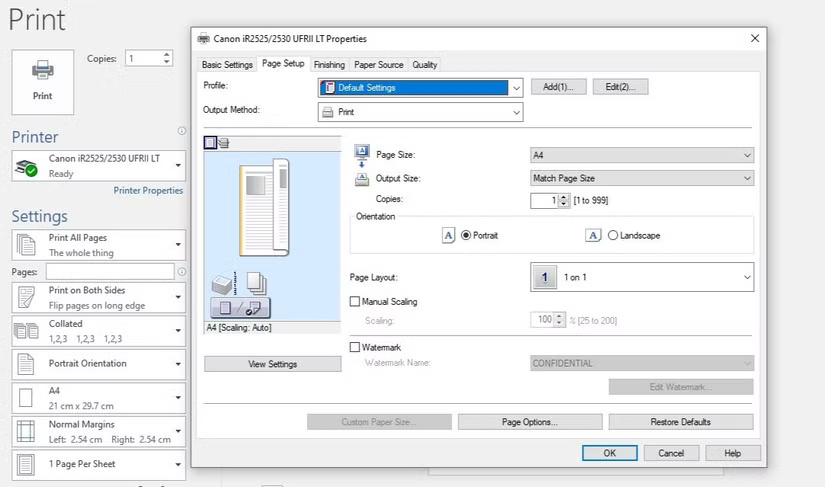
This will make the pages print at full size, with text and any graphics filling the entire page.
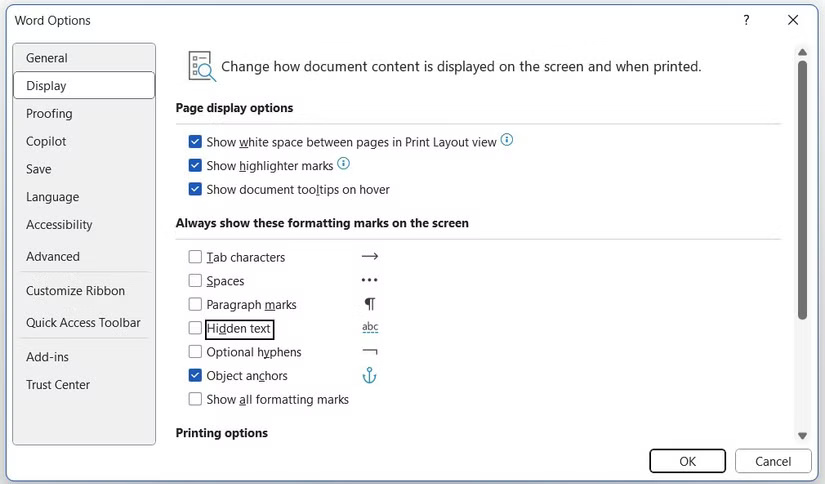
6. Check for hidden text
Microsoft Word provides the option to hide text in documents. This hidden text works similarly to formatting marks, such as spaces, line breaks, and tab characters – it takes up space on the page but does not appear when printed or viewed on screen. Sometimes hidden text can be the reason why certain parts of a document are missing when printed, even though they are visible in the soft copy.
If you suspect hidden text may be causing printing problems, here's how to check for and reveal any hidden content in a Microsoft Word document:
- In Word, go to File > Options.
- Select tabs Display and uncheck the option Hidden text.
- Click OK and reprint the document.
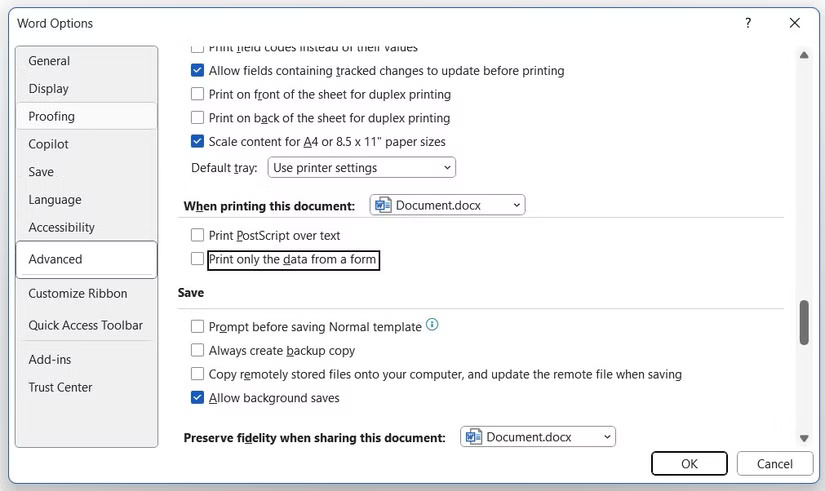
7. Check the print form data option
Another common printing problem in Word occurs when table borders or other elements in the document do not appear in the printed version, even though they are visible on the screen. Here's how to fix that problem.
- In the Word document, go to File > Options.
- Switch tabs Advanced.
- Scroll down and uncheck the option Print only the data from a form. Then click OK.
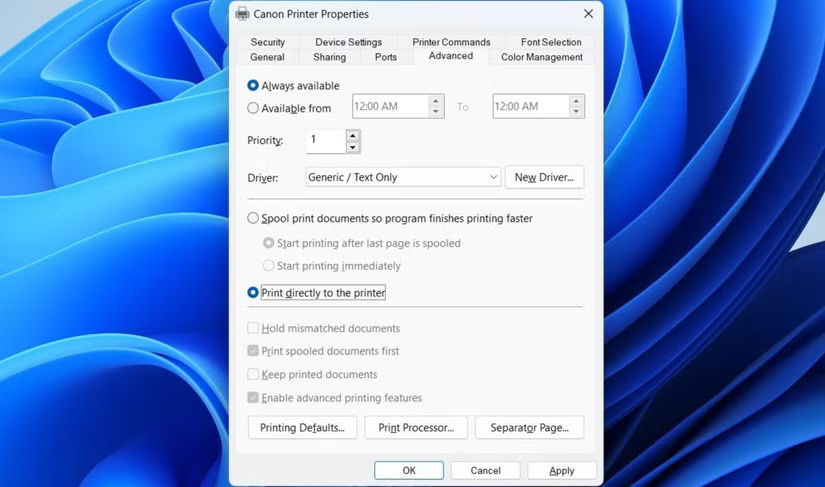
8. Print directly to the printer
When you print directly to the printer, Word bypasses the print spooler and sends the document straight to the printer. This can help resolve issues such as printing delays, missing pages, or incorrect formatting that can occur when documents are preprocessed by the spooler.
To print directly to the printer in Word:
- Open Control Panel using the search menu.
- Click Devices and Printers.
- Right click on the printer and select Printer properties.
- Go to tab Advanced and check the option Print directly to the printer.
- Click OK.
- Try printing the Word document one more time.
9. Repair Microsoft Office suite
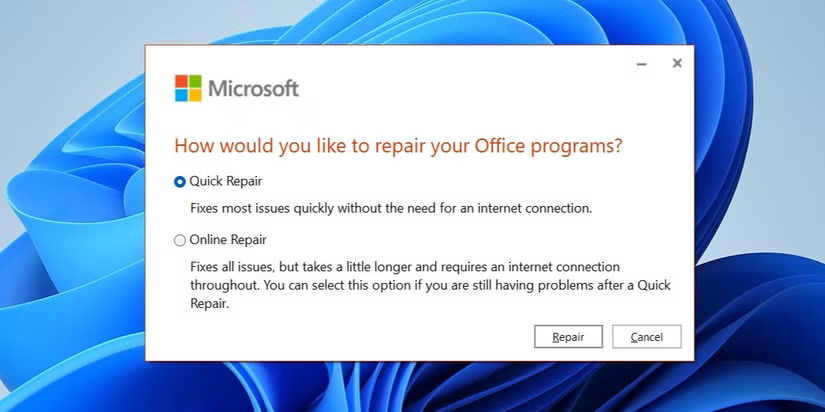
If you've tried all of the fixes above and the problem persists, or if you're having similar problems with other Office applications, you can try using the Office repair tool. This tool scans all Office applications, including Word, for potential problems and automatically repairs them. Here's how to run it.
- Press Win + R to open the Run dialog box.
- Type appwiz.cpl into the text box and press Enter.
- Find the Microsoft Office suite, right click on it and select Change.
- Select options Online Repair and click Repair.
Wait for the repair tool to run and then try printing from Word again.
When you've spent many hours working on a document, you may feel frustrated when Word doesn't print properly. Hopefully that situation will no longer exist and one of the tips above will help you solve the printing problem in Word.
