

In today's digital world, protecting sensitive data is more important than ever. Whether you're managing financial records, personal data, or business information, keeping Google Sheets safe is important. The app offers several data protection features, such as locking cells and setting permissions. Here's how to password protect data in Google Sheets.
Why should you protect Google Sheets with a password?
Password protection in Google Sheets protects your data from unauthorized access, accidental editing, and potential breaches. Whether you're working on a shared project, handling sensitive information, or simply organizing personal data, protecting sheets with permissions and locks ensures only trusted individuals Only you can view or modify the content.
How to protect Google Sheet with a password
Step 1: Open the browser
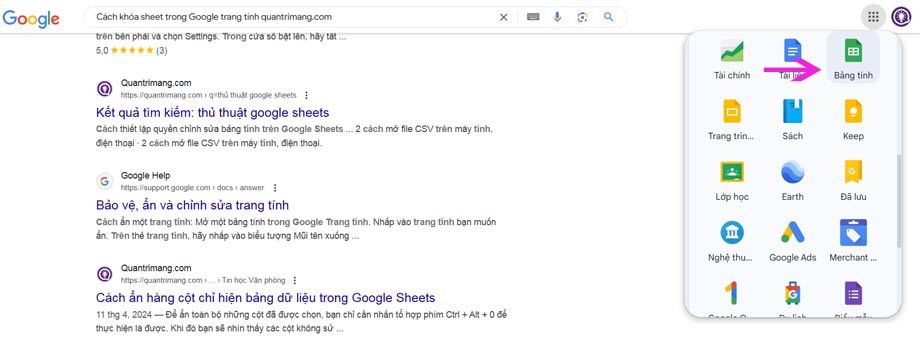
Open your favorite web browser and search Google on it.
Step 2: Access Google Workspace
Once the Google page loads, check out Google Workspace and go to Google Sheets.
Step 3: Choose a blank page
After accessing Google Sheets, click on a blank page.
Step 4: Enter data into the cell
Mention the data or open data that you want to hide.
Step 5: Select data
Select the data tab you want to protect.
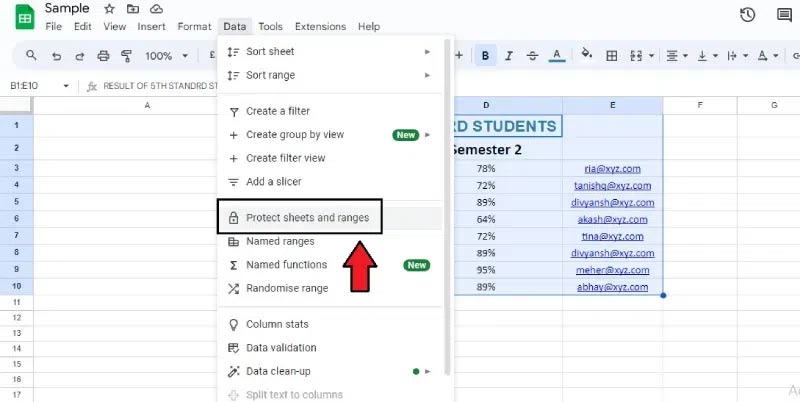
Step 6: Go to the “Data” tab and select “Protect sheets and range”
After selecting the tab, look at the “Data” tab at the top of the table. Click on that tab and you will see a drop-down menu. From there, choose Protect sheets and range.
Step 7: Add sheets or ranges
Once clicked, you will see a tab on the right side; there, you will see “add a sheet or range“. If you want to protect the sheet, select “sheet. sheet“; if you want to protect the scope, select “range. range“.
Step 8: Set or change permissions
After clicking Sheet or range, regardless of what you selected here, you'll see the option to set or change permissions. Click Set Permissions if you are adding new permissions for the first time. If you're editing existing permissions, select Change Permissions.
Step 9: Choose a strategy to limit editing based on permissions
You will see a permissions tab. The first option would be Show warning when editing this range and the other would be Limit who can edit this range. There are options below:
- Only you – Only you: Only you and the document owner have editing options.
- Only domain – Only domain name: Only people in your domain can edit.
- Custom – Customize: Only people you specify will have editing options.
Copy permissions from another range – Copy permissions from another range: Reuse permissions that you set up on another scope or Sheet.
Finally, click Save to complete the process.
