

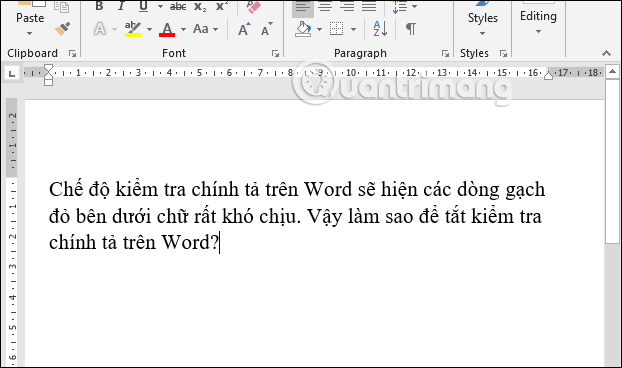
By default, when editing content in Word, we will see red horizontal lines of spell checking mode. The spell checking feature on Word helps users detect mistakes when we edit, especially when editing English. But in fact, this feature affects users quite a lot when they are confused by the red horizontal lines.
In general, when editing content in Vietnamese, this feature is not really effective, but users should use more professional spell checking tools, so this mode needs to be turned off to turn off lines. red horizontal line. The article below will guide you how to turn off spell checking on Word.
1. Instructions for turning off spell checking in Word 2007
Step 1:
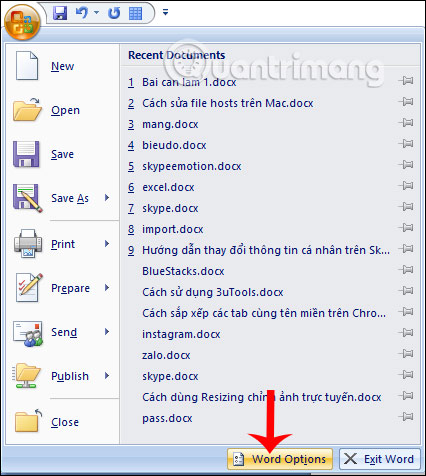
At the interface of Word 2007 and below, the user clicks Office icon then select continue Word Options.
Step 2:
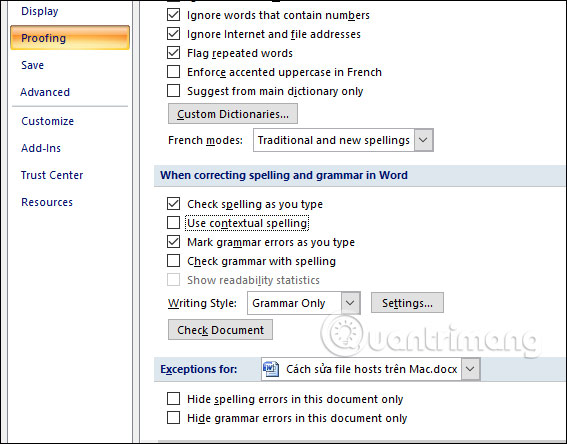
Switch to the new interface and click on it Proofing section in the list on the left. Then look at the content on your right Uncheck the contents below here.
- Check spelling as you type.
- Use contextual spelling.
- Mark grammar errors as you type
- Check grammar with spelling
Or users can also just uncheck the 2 options below.
- Hide spelling errors in this document only.
- Hide grammar errors this document only.
Then click Ok below to save the changes.
2. How to turn off spell checking in Word 2010 and above
How to turn off spell checking in an entire Word document
Step 1:
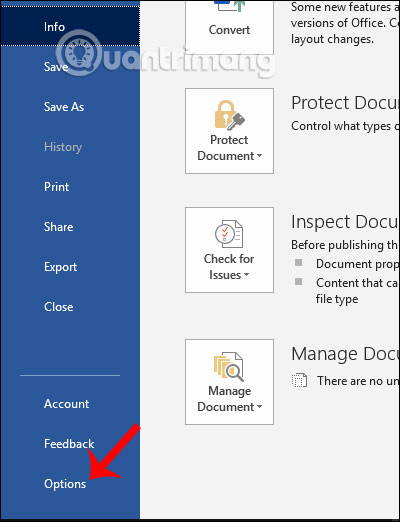
At the interface on Word, users click File section then select next Options in the displayed list.
Step 2:
Also displays the interface of setting items on Word, the user ticks them Proofing group then look to the right Uncheck the contents as below:
- Check spelling as you type.
- Mark grammar errors as you type.
- Frequently confused words.
- Check grammar with spelling.
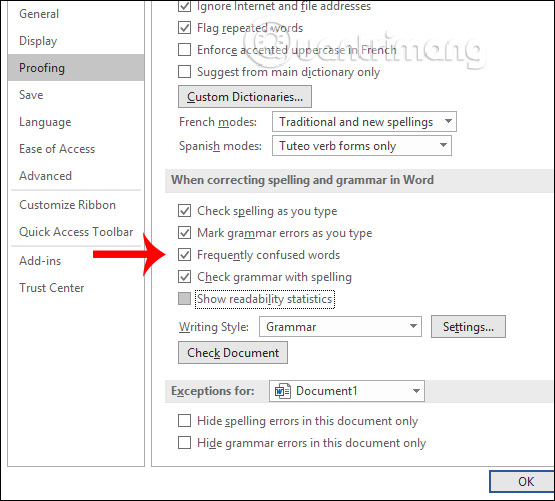
Then we also click OK to save the changes. As a result, you will no longer see the red underline displayed like before.
So we have turned off spell checking mode on Word, with just 2 simple settings changes. The steps taken on all versions of Word are similar.
How to turn off spell checking for a specific paragraph
If you don't want to turn off spell checking for the entire document, you can turn it off for just a few paragraphs. Here's how you can turn off spell checking for a paragraph:
Step 1:
On a Microsoft Word document, select the paragraph for which you want to turn off the spell checker.
Step 2:
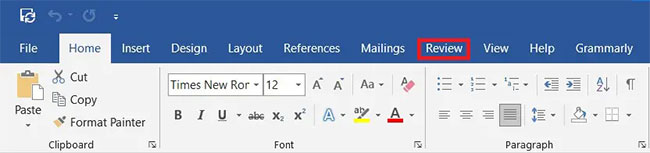
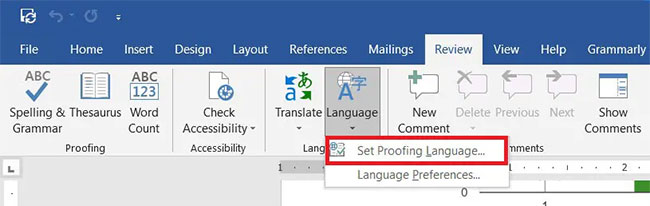
From the title bar of your Word document, click the option that says content Review.
Step 3:
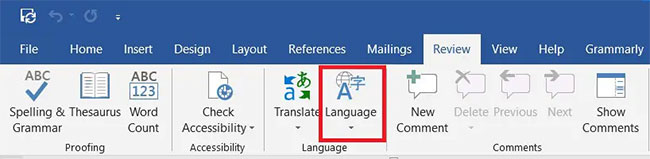
In the dashboard, click options Language.
Step 4:
A drop-down list will appear with two options. Click Set proofing language to continue.
Step 5:
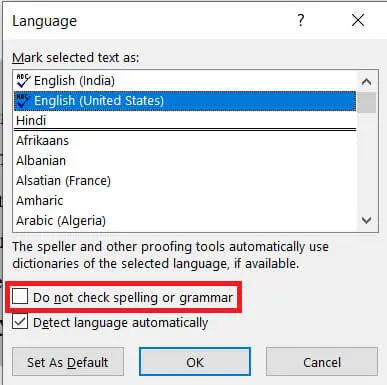
This will open a small window displaying the languages in Word. Below the list of languages, enable the checkbox that says Do not check spelling or grammar.
Step 6:
Spell checking will be disabled.
How to turn off spell checking for a word
Usually, it only takes a single word to trigger the spell checker. In Microsoft Word, you can help individual words escape spell checking. Here's how you can turn off spell checking for individual words.
Step 1:
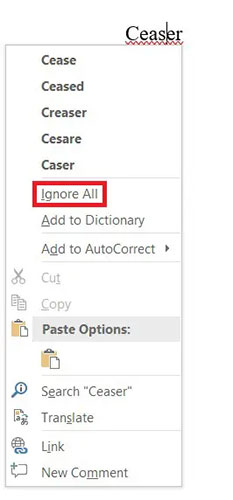
In a Word document, right-clicking on a word does not require spell checking.
Step 2:
From the list of options that appears, click Ignore All if the word is used multiple times in the document.
Step 3:
The word will no longer be checked and the red underline below will disappear. However, this is not a permanent option, the word will be checked the next time you open the document.
Step 4:
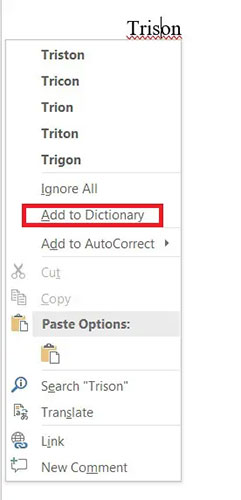
To permanently save a word from spell checking, you can add it to the Microsoft Word dictionary. Right click on the word and select Add to dictionary.
Step 5:
The word will be added to your dictionary and will no longer trigger spell checking.
Wishing you success!
