

How to merge mail in Word 2016 not difficult. The article will guide you How to merge text in Word 2016.
Drafting and office information skills are basic conditions if you want to have a good job today. Currently, you have many different ways to learn this skill, from taking an offline or online course to self-studying on the Internet.
It's not difficult to find an online lesson on how to use office software. One of the most popular software options today is Microsoft Word. Although there are currently many free alternatives to Word, this software still stands firmly in the top of the most popular options. This is not only because Word has been famous for a long time, but Microsoft is also very actively improving and upgrading products to meet the increasing needs of users.
Using Word, you have almost all the necessary features to edit professional documents, from choosing font style, left/right alignment, indentation to inserting images, adding links… All are easy to use.
However, Microsoft Word has another useful feature that you may not know. That's text mixing. Below are detailed instructions How to merge text in Word 2016.
Mail Merge – text merge or mail merge is a useful feature in Microsoft Word that allows you to create multiple invitations, thank you letters, announcements, folders, name tags and many other information stored in lists, databases, etc. database or spreadsheet. When doing a Mail Merge, you will need a Word document (you can start with an existing text document or create a new one) and a list of recipients, usually a Workbook file in Excel – Excel spreadsheet.
Watch the video below to learn more about how to use the Mail Merge feature in Word 2016:
How to use mail merge – Mail Merge:
1. Open an existing Word document or create a new one.
2. From tab Mailings (Mail), click the command Start Mail Merge (Start Mail Merge) and select Step-by-Step Mail Merge Wizard from the drop-down menu.
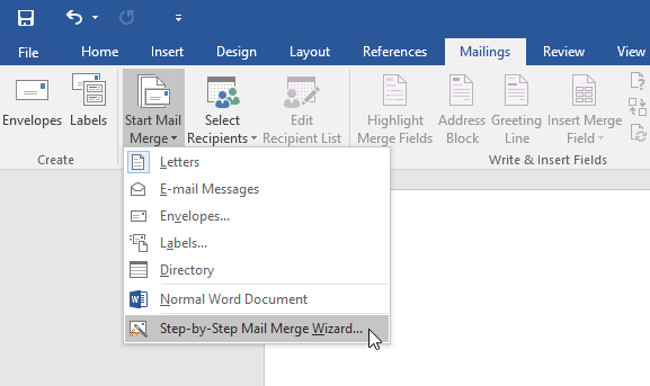
- Box Mail Merge will appear and guide you through six key steps to complete the merge. The following example illustrates how to create a message template and merge the message with a recipient list.
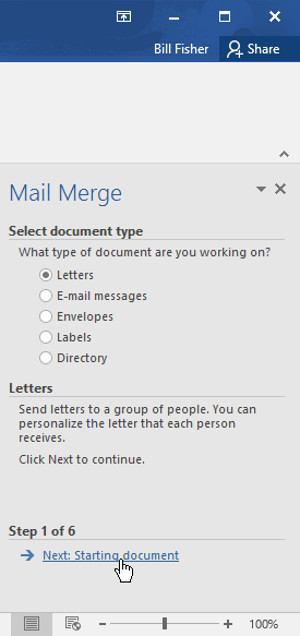
Step 1
- From the task pane Mail Merge (Mail Merge) on the right side of the Word window, select the type of document you want to create. In the example, we will choose Letters. Then click Next: Starting document (Next: Launch documents) to move to Step 2.
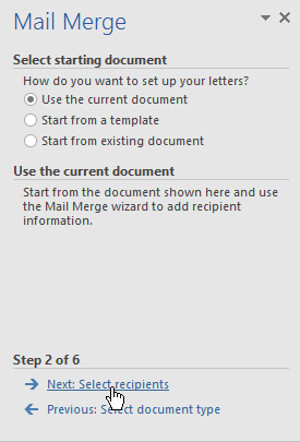
Step 2
- Select Use the current document (Use existing document), then click Next: Select recipients (Next: Select recipient) to move to Step 3.
Step 3
Now you will need one address list so Word can automatically place each address in the document. This list can be in an existing file, such as a Excel spreadsheetor you can type a new address list from within Mail Merge Wizard.
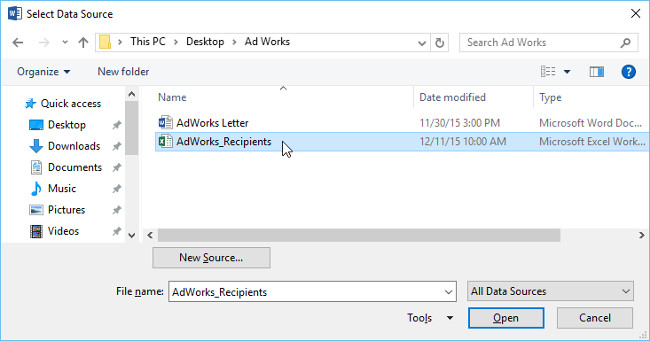
1. Choose Use an existing list (Use existing list), then click Browse (Browse) to select files.

2. Locate your file, then click Open (Open).

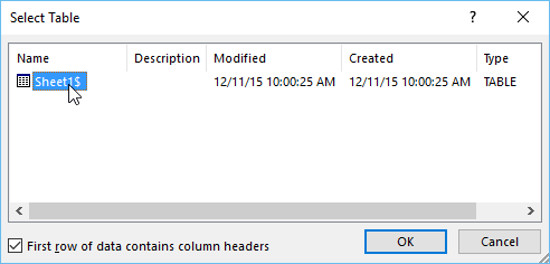
3. If the address list is in an Excel spreadsheet, select spreadsheet containing lists then click OK.
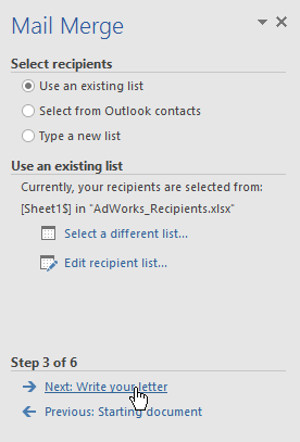
4. In the dialog box Mail Merge Recipientsyou can check or uncheck each box to control which recipients are included in the merge. By default, all recipients must be selected. When done, click OK.
5. Click Next: Write your letter (Next: Write your letter) to move to Step 4.

- If there is no existing address list, you can click the button Type a new list (Enter a new list) and click Create (Create), then import the address list manually.
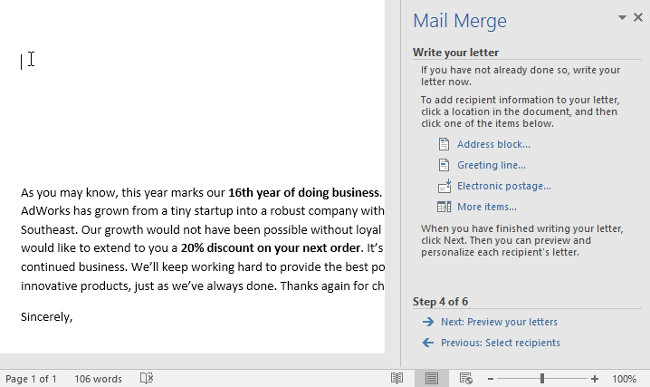
Step 4
Now you're ready to write your letter. When it is printed, each copy of the letter will be essentially the same; only recipient data (like name and address) will be different. You'll need to add placeholders for recipient data so Mail Merge knows exactly where to add the data.
To insert recipient data:
1. Place the insertion point in the document where you want the information to appear.
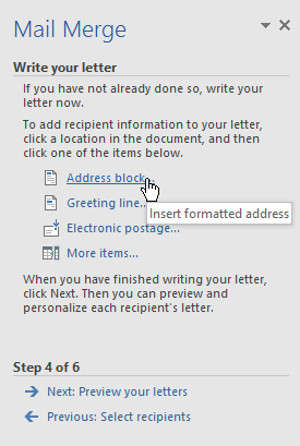
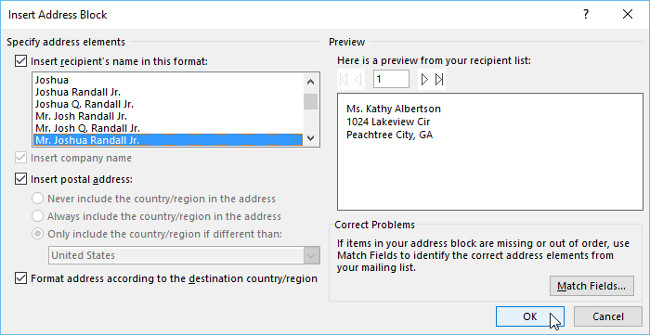
2. Select one of the placeholder options. In the example, we will choose Address block (block address).
3. Depending on your selection, a dialog box may appear with different customization options. Select the desired options, then press OK.
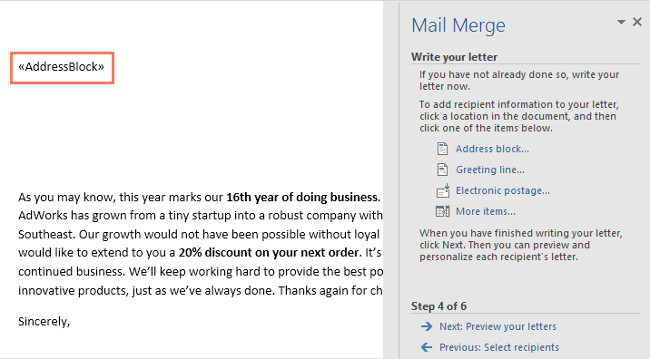
4. The placeholder will appear in your document (e.g. «AddressBlock»).
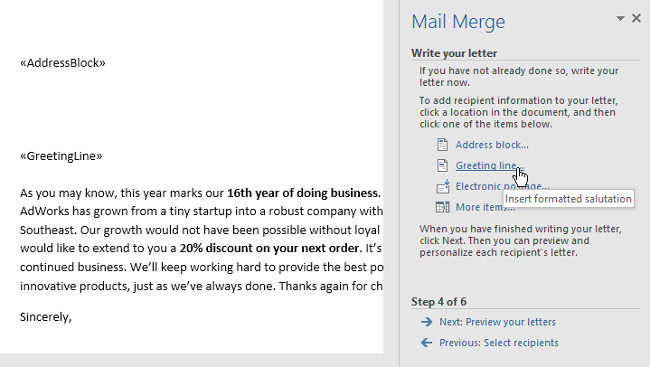
5. Add any other placeholders you want. In the example, we'll add a placeholder in the Greeting line above the body of the letter.
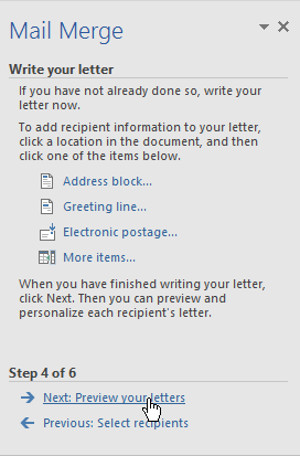
6. When done, click Next: Preview your letters (Next: Preview your message) to move to Step 5.
- For some letters, you just need to add one Address block and Greeting line. But you can also add more placeholders (like the recipient's name or address) in the body of the letter for even more personalization.
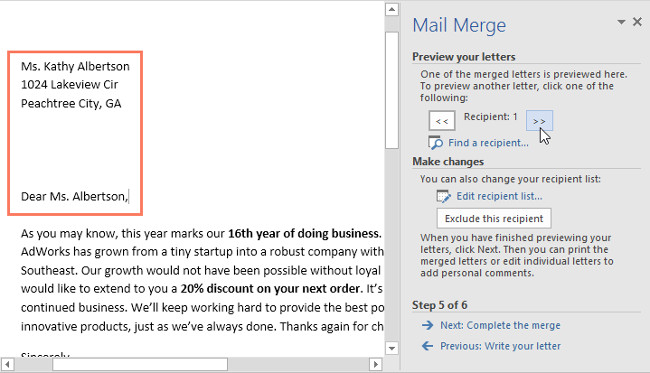
Step 5
1. Preview the letters to make sure the information from the recipient list appears correctly in the letter. You can use the left and right scroll arrows to view each version of the document.
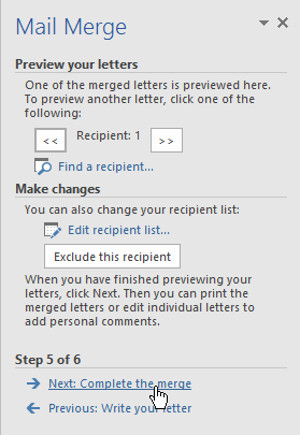
2. If everything turns out correct, click Next: Complete the merge (Next: Complete the merge) to move to Step 6.
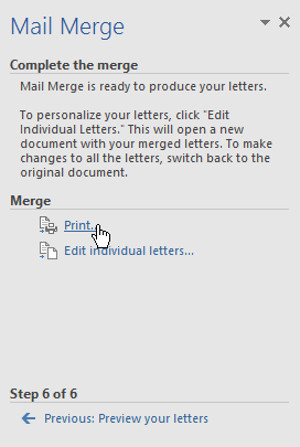
Step 6
1. Click Print to print the message.
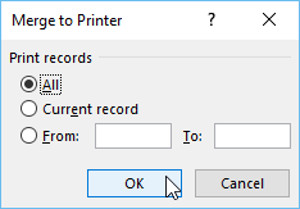
2. A dialog box will appear. Decide whether you want to print all messages, current documents (files), or just a selected group, then press OK. In the example, we will print them all.
3. Dialog box Print (Print) will appear. Adjust print settings if necessary, then press OK. The documents will be printed.
To avoid any inconsistencies in a series of emails or emails, you need to tweak the Excel file as follows:
- The first row should only have column headers starting from cell A1. Word will use column headers like Merge Fields when you use Mail Merge in Microsoft Word.
- You should edit the column header to match the placeholder name you will use in the template document or email.
- You need to make sure the spreadsheet file containing data is one record per row sample.
- Numeric data for any contact, such as ZIP code, discount percentage, mileage, currency, etc. should be in appropriate numeric format.
- To make any changes, select the cell or range of cells containing the number.
- In the Home > Ribbon tab, click the drop-down arrow next to General.
- Make all necessary additions before linking the Word document using Mail Merge to the Excel database file. Once you have made all the changes, click save Excel file.
- The Excel database file should be located on the computer's local storage drive.
- Make sure all data is in the first sheet of the Excel workbook.
Refer to some more articles:
Have fun!
