

To make a Word document more professional, adjusting the page layout and reformatting the content is essential. For example, you should create a table of contents in Word so that viewers can easily follow the content, including categories for photos and tables in Word, and add captions for images. When you add a caption to an image, it will make the image clearer and the content more professional. The article below will guide you to insert captions for photos in Word.
How to insert captions in photos in Word
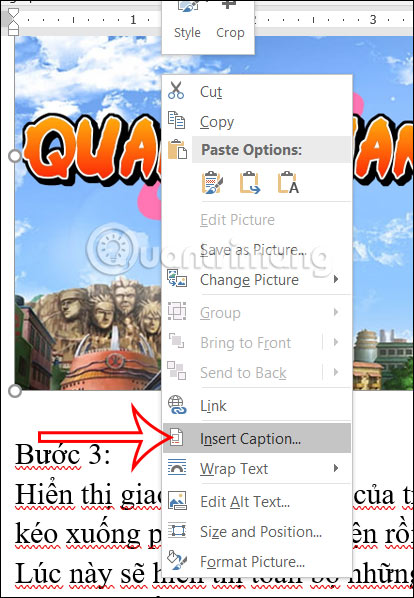
Step 1:
At the Word document interface, the user clicks on the image. Next you right click Go to the photo and select it Insert Caption in the displayed list.
Step 2:
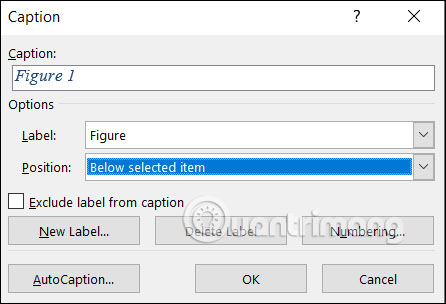
This time displays the interface for users to enter a caption for the photo. In Label you press Figurein Position you choose the location to display the caption for pictures.
If you want to remove the Figure label from the image, select the Exclude label from caption box.
Step 3:
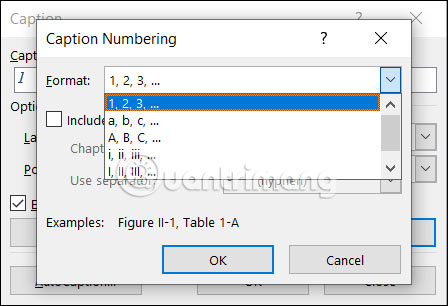
If you want Change the display order for captions then you Click Numbering to change. Afterward Click Format to change the display order format for text or number captions.
Step 4:
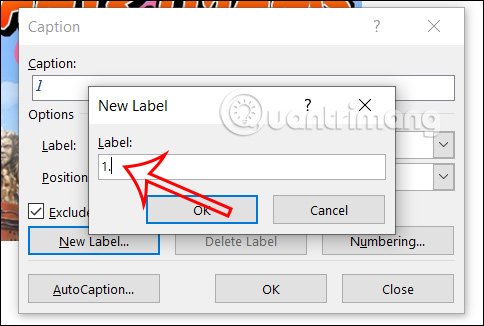
We can too manually change the caption display style to another when clicked New Label below as shown.
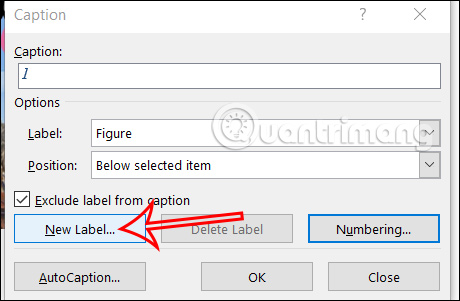
Then you Enter new caption display style you want to use, then click Ok to save. We can create many different caption display styles with the method above.
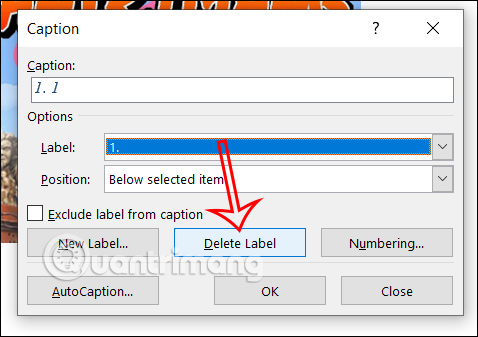
In case you do not want to use the display label style Then in the Label section, click on the label you want to delete Press Delete Label below.
Step 5:
Finally, fill in the caption content for the image and click OK to save.
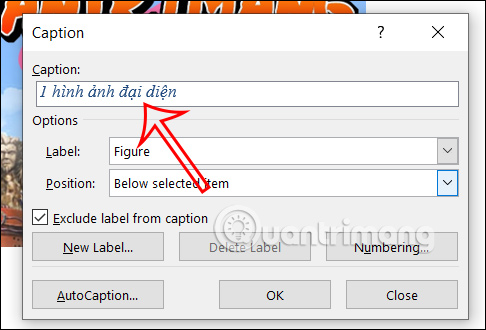
The resulting image has been added with a caption as below.

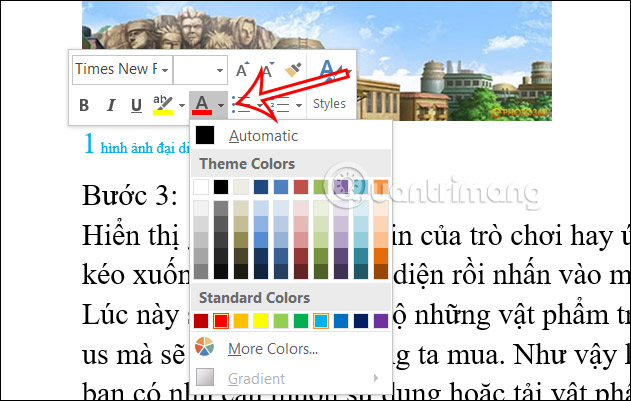
You can also highlight the caption content to change the format if you want.
