

Chromebook doesn't turn on or charge when you plug it in to the charger? Or your device boots up but won't charge? Unless there is a hardware problem with the laptop, charger, or charging port, other problems are usually easy to fix and you don't even need to go to a repair shop.
1. Check battery and other hardware problems
If your Chromebook won't charge, the first thing to check is to see if there's a hardware problem with the battery. If the battery is removable, remove it and run the device on direct power through the charger. If the laptop turns on and operates normally with a direct power connection but does not start up on battery power, plug it in to make sure the battery is not completely drained.
If the problem persists after charging the device, it's likely that the battery is malfunctioning. In that case, you must replace the battery to get the device working again. If your Chromebook won't turn on or charge even when there's direct power, the problem may be related to the power outlet, charger, charging cable, or charging port, not the battery.
Check the charger and cable for any damage and try using a different charger to rule out any problems with your original charger. Try changing the electrical outlet to make sure the problem is not with the outlet. Also, clean the charging port on your laptop and the power outlet to remove any dirt or debris blocking the connection.
If your Chromebook turns on but won't charge or shows a charging error, the problem may be hardware-related. You may need to take your device to a technician.
2. Check the screen
Your Chromebook may be powered on, but the screen problem prevents you from seeing anything, suggesting the problem is with the screen, not the device itself. So, check for signs like the charging light, keyboard backlight, LED indicator light, or startup sound. If these signs work but the screen remains black, it may be due to a screen problem.
To confirm this, connect your Chromebook to an external display or TV using an HDMI or USB-C adapter. If the external display displays the Chromebook's content, the problem is with the display. In that case, contact the manufacturer or a local technician for repair.
Before taking the next action, make sure the screen brightness is not reduced completely, causing the screen to turn off. Press the brightness key a few times to see if the screen lights up.
Note: While Chromebooks usually don't have overheating problems, exposure to extreme heat or cold can cause charging problems. So, if your device is exposed to extreme temperatures, let it return to room temperature and see if that resolves the problem.
3. Disconnect external devices and power on/off Chromebook
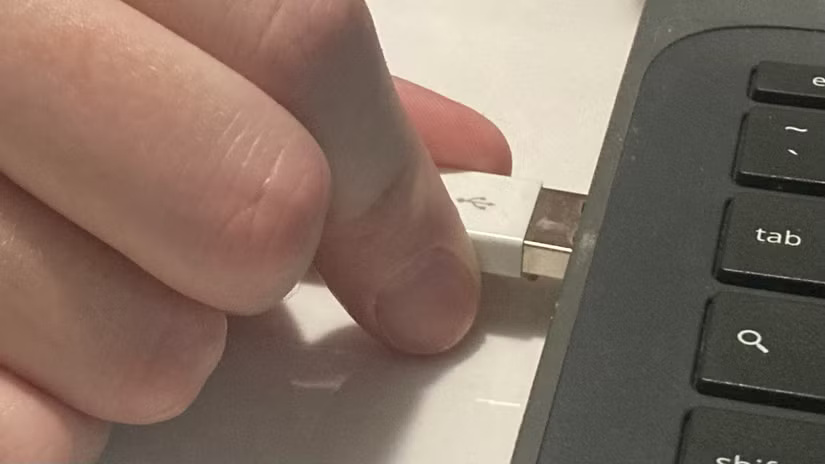
Do you have any external devices, such as USB, keyboard, headset, HDMI cable, or external storage device connected to your Chromebook? If so, these devices may be using electricity and causing problems. To check if they are causing the problem, temporarily disconnect all external devices and turn your Chromebook back on.
If powering up is successful, make it a habit to only connect external devices after your Chromebook has fully booted up.
If disconnecting external devices does not solve the problem, try performing a power cycle. This simple reboot can help clear minor software glitches without affecting your data or settings. To do this, press and hold the power button for at least 10 seconds to force your Chromebook to completely shut down.
Once turned off, wait 30 seconds, then press the power button again to restart the device. This may resolve any charging issues you are having.
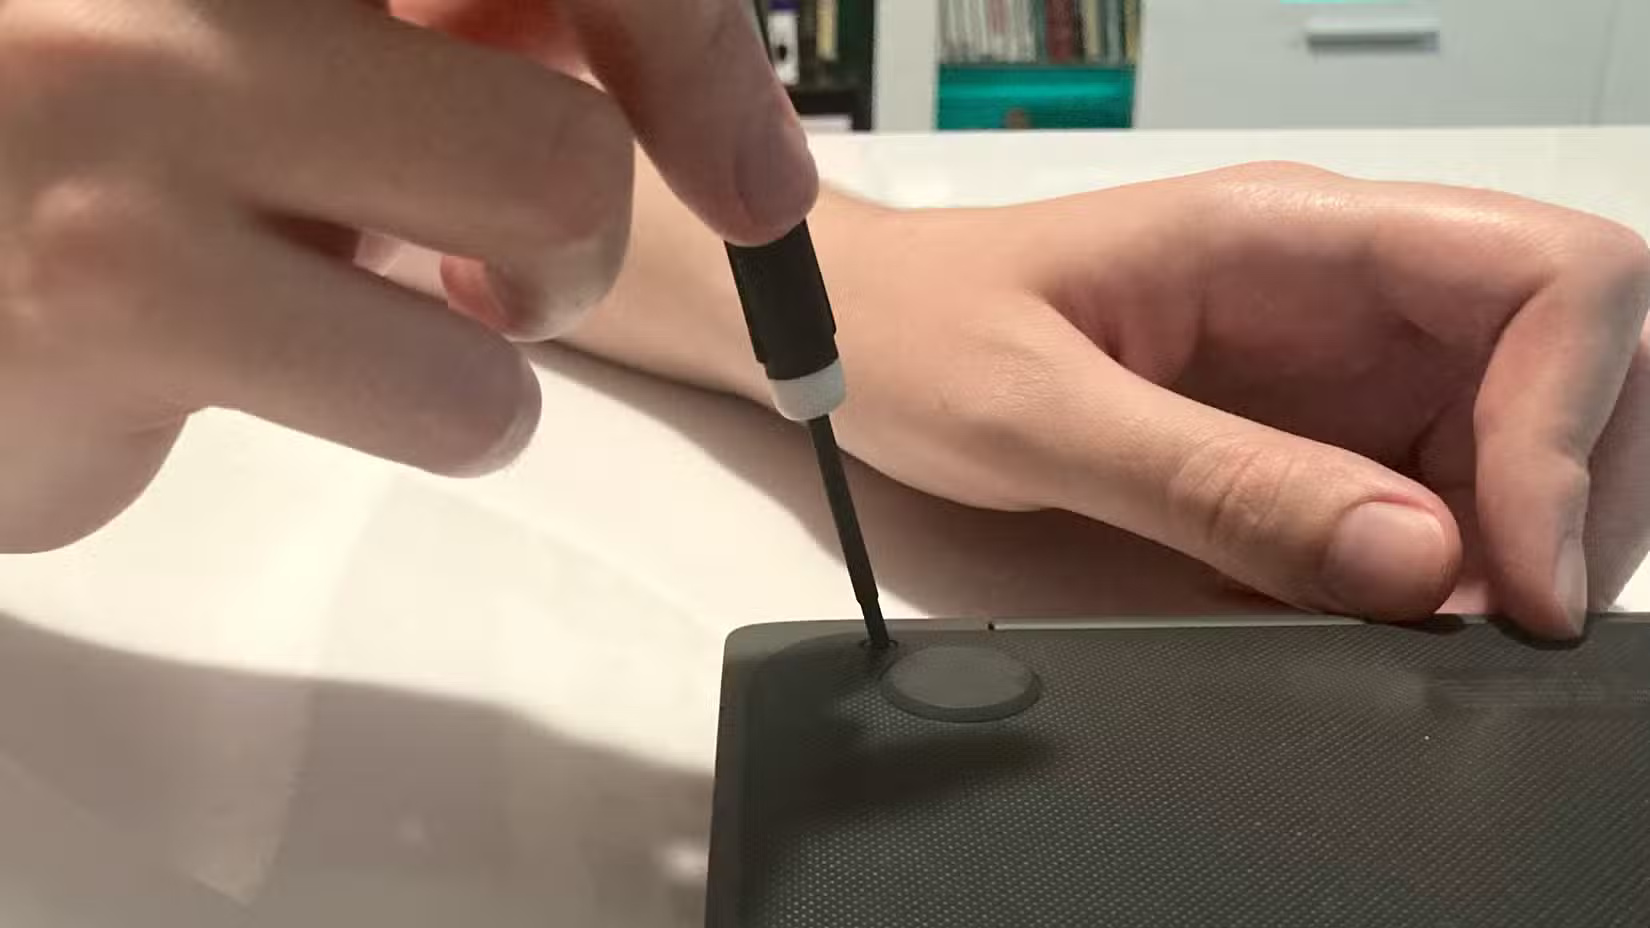
4. Perform Hard Reset
If your Chromebook won't turn on, try performing a Hard Reset. This process refreshes the connections between the battery and the Chromebook's internal components, solving problems like charging issues. This process forces a reboot and resets some low-level hardware settings without affecting your data or personal settings.
To perform a factory reset, you must first turn off your Chromebook. Then, press and hold the Refresh key (circular arrow) while pressing the Power button. Release both keys when the Chromebook starts. Some Chromebook models have a different factory reset process, so refer to Google's official documentation for detailed instructions.
5. Try starting Chrome OS Recovery Mode
If none of the above solutions work, the last option is to boot your Chromebook into Recovery Mode. This can help diagnose deeper problems or allow you to reset or reinstall the ChromeOS operating system. If the device is on, hold down the power button until the device turns off completely. Then, press and hold the key Esc and Refreshthen tap the Power button.
When the device boots, release the Power button but keep holding the Esc and Refresh keys. This will take you to the Recovery Mode screen.
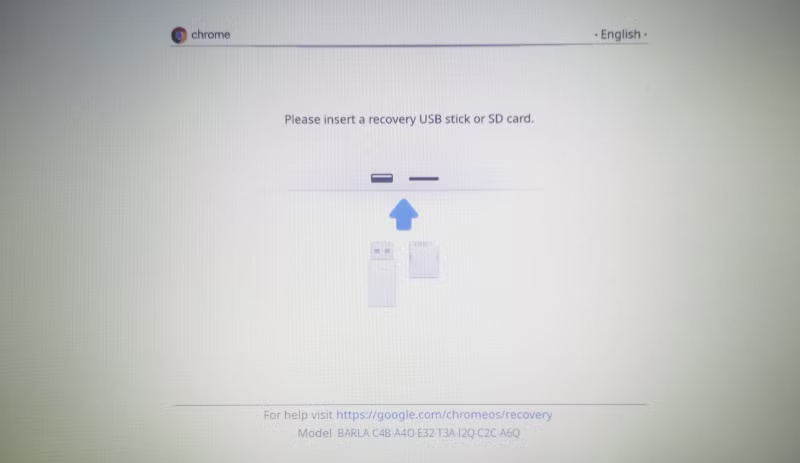
If you see the message “Chrome OS Is Missing or Damaged”, there is a problem with your Chromebook operating system. To fix this issue, you must restore using a USB or SD card with a recovery image. You can create this recovery image using Chromebook Recovery Utility on another device.
6. Perform a Powerwash
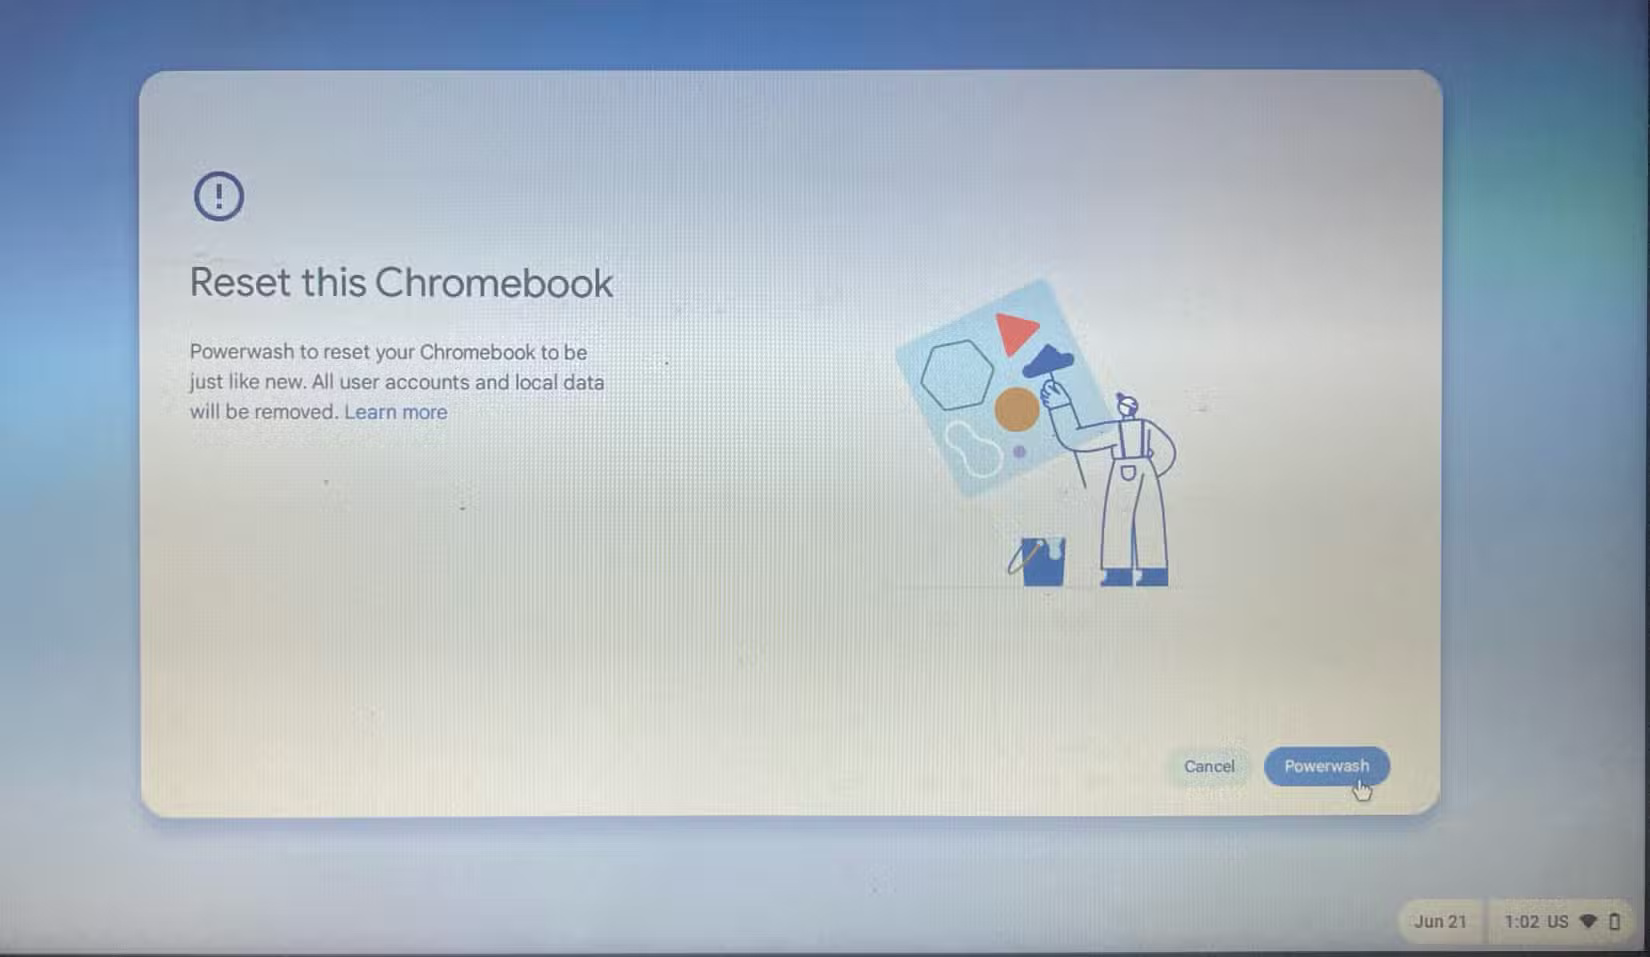
Powerwash is the equivalent of a factory reset on a Chromebook. It wipes all data and settings, returning the device to its original state as when you first bought it. Unlike powering on/off or restoring factory settings, wiping deletes any locally stored data, so back up any important files. This also deletes user accounts, files, installed applications and extensions.
To perform a powerwash on a Chromebook:
- Open Settings and go ahead System Preferences in the left bar.
- In section Resetclick the button Reset next to Powerwash. In the pop-up window, click Restart. Then, follow the on-screen instructions to complete the reset process.
If a software issue is causing the problem, then powerwash will likely resolve it.
The solutions mentioned above will help you identify and resolve the problem. However, if none of those solutions work and the problem persists, then it's likely due to a hardware-related problem. To fix this problem, bring your device to an official store to check if it is still under warranty. If the device is out of warranty, visit a local repair shop for further inspection.
